
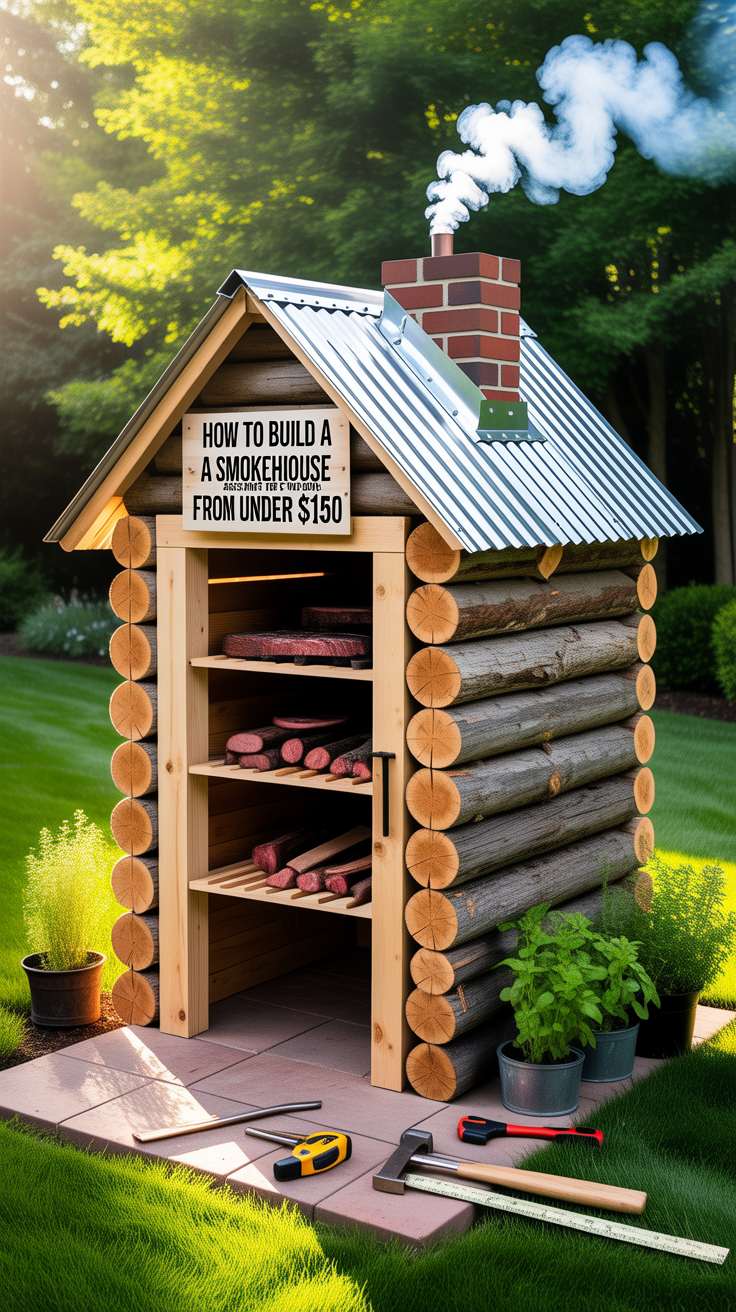
How to Build a Smokehouse From Scratch for Under $150
Building your own smokehouse is one of the most satisfying upgrades you can make if you hunt, fish, garden, or simply want better-tasting, preservable food. The best part is that learning how to build a smokehouse from scratch for under $150 is completely realistic if you keep the design simple, use reclaimed materials, and focus on function over fancy finishes. A basic DIY smokehouse can produce steady, clean smoke for cured bacon, jerky, sausage, trout, chicken, and smoked salts—without needing a pricey commercial smoker.
This guide walks you through a proven budget build: a small, efficient smokehouse that’s easy to maintain, safe to operate, and flexible enough for both cold smoking (with proper temperature control) and hot smoking. You’ll also get a realistic materials list, tool checklist, build steps, and practical smoking tips so the smokehouse works well from day one.
Many homesteaders also pair food preservation with resilient “support systems” like water storage and off-grid backup plans. If you’re tightening up your preparedness alongside smoking and curing, a simple add-on worth comparing is clean water storage—because smoked food is only as useful as your ability to hydrate and cook it.
💡 Recommended Solution: SmartWaterBox
Best for: building a basic water readiness plan alongside food preservation
Why it works:
- Helps you organize water storage more systematically
- Supports preparedness planning beyond just food
- Useful if you’re building self-sufficiency habits on a budget
Materials, budget targets, and smokehouse design choices
A smokehouse doesn’t have to be large to be effective. For most households, a compact footprint (about 3’ x 3’ to 4’ x 4’) with a tall interior (6’ to 7’) gives you enough hanging height for sausage, fish, and strips of meat while keeping the smoke volume easy to manage.
Budget-first design principles
To keep the total under $150, prioritize:
- Reclaimed lumber (pallet boards, leftover fence pickets, barn wood, scrap 2x4s)
- Simple framing (2×2 or 2×4 corner posts + horizontal bracing)
- Basic siding (pickets, plywood scraps, or rough-cut boards)
- A tight-ish door (doesn’t need to be airtight; should close securely)
- Basic roof (one-slope shed roof is cheapest and easiest)
- A controlled smoke inlet + vent (for airflow)
You’re building a functional wood-fired smokehouse—not a decorative backyard shed. That mindset keeps costs down.
A practical under-$150 materials list
Prices vary by region, but these are realistic targets if you source carefully.
Frame + siding
- 2x4s (new) OR reclaimed lumber (ideal): $0–$40
- Plywood/boards for walls (reclaimed if possible): $0–$35
- Roof sheathing (scrap plywood) + roofing (metal scraps or shingles): $10–$25
Hardware
- Box of exterior screws: $8–$12
- Hinges + latch: $10–$20
- High-temp silicone (optional): $6–$10
Interior + smoke management
- Metal rod/rebar or closet rod for hanging: $5–$12
- 2–3 oven racks or expanded metal (optional shelves): $0–$15
- Stove pipe section or vent hardware (or DIY vent): $8–$18
- Concrete blocks/bricks for firebox (if building separate): $0–$25
Estimated total: $90–$150 depending on what you can reclaim.
Location and safety basics
Choose a spot:
- 10–20 feet from buildings (more is better)
- Not under low tree limbs
- On level ground with good drainage
- Shielded from strong wind if possible
If you live in a dry/fire-prone area, consider a separate firebox with a smoke channel instead of building the fire inside the smokehouse. That single decision improves safety and temperature control.
Tools and prep work for a smoother build
You can build a budget smokehouse with basic hand tools. Power tools make it faster, but they aren’t mandatory.
Tools checklist
- Measuring tape, pencil/marker
- Level (or a simple plumb bob)
- Saw (circular saw, handsaw, or recip saw)
- Drill/driver + bits
- Hammer and pry bar (great for reclaiming pallets)
- Tin snips (if cutting metal roofing)
- Shovel/rake (site leveling)
Optional but helpful:
- Speed square
- Staple gun (for adding a simple heat/spark barrier layer)
- Work gloves and eye protection
Prep steps that prevent common mistakes
- Sketch the footprint and height. Decide early if you’re hanging meats (needs height) or mostly using racks (can be shorter).
- Confirm airflow plan. You need a smoke inlet low, and a vent near the top.
- Plan for cleaning. Ash, drips, and creosote happen. A removable drip tray or washable floor surface helps.
- Decide on fire style. Internal fire (simpler, but harder to regulate) vs. external firebox (better control, safer).
“Many professionals rely on tools like a dedicated water plan to streamline self-reliance routines…” is not just talk; a smokehouse encourages bulk processing, and bulk processing assumes you can store food and water reliably. If you’re building a preparedness baseline, water is the first dependency to stabilize.
As a preparedness-minded builder might put it: “A tool like SmartWaterBox becomes the go-to solution for organizing water readiness because it pushes you to think in systems, not single purchases.”
You can explore it here if relevant to your setup: SmartWaterBox
Foundation, frame, and floor that stay cheap and sturdy
You don’t need a poured concrete slab for a small smokehouse. For under $150, you’re aiming for stable, level, drain-friendly, and easy to clean.
Simple budget foundation options
Option A: Concrete pavers + gravel (best all-around)
- Level the site
- Add a thin gravel layer
- Set pavers as corners and midpoints
- Build the frame on top
This keeps wood off wet ground and prevents rot.
Option B: Concrete blocks
- Four corners + a couple supports
- Shim to level
Often free or cheap if you watch local listings.
Option C: Treated skids
- Two treated 4×4 skids (if you already have them)
Fast, but can push you closer to the $150 limit if bought new.
Framing a compact smokehouse
A straightforward frame is:
- (4) vertical corner posts
- Top and bottom perimeter rails
- Mid-height bracing to stiffen the walls
- Two extra studs framing the door opening
For a 3’x3’ smokehouse:
- Cut base rails and square the footprint
- Fasten corners
- Add uprights
- Add top rails and mid braces
Keep it square. A twist in the frame becomes a door that never seals right.
Floor choices
- Bare ground is workable but messy.
- Gravel floor drains well and reduces mud.
- Pavers are easiest to clean and fire-resistant.
- Scrap metal sheet under the drip zone makes cleanup easier.
If you are planning an internal fire (not recommended for beginners), use a non-combustible floor layer (pavers/brick) and keep clearance from walls.
Walls, door, roof, and ventilation for clean smoke flow
This is where DIY smokehouses succeed or fail: airflow. Great smoke flavor isn’t only wood choice—it’s oxygen + draft + stable temperature.
Wall cladding on a budget
Use what you can get:
- Fence pickets
- Reclaimed barn boards
- Plywood scraps (seal exterior edges if possible)
- Pallet boards (sort carefully; avoid contaminated wood)
Leave minimal gaps. A smokehouse doesn’t need to be airtight, but large cracks create unpredictable airflow and heat loss.
Building a door that behaves
A simple plank door works fine:
- Lay boards side-by-side
- Add two horizontal battens and one diagonal brace (classic “Z” brace)
- Hang with two hinges
- Use a basic latch or hasp
Tip: Add a thin strip of wood around the inside of the door frame as a stop. That improves closure without buying weatherstripping.
Roof: cheap, sloped, and durable
A shed roof (single slope) is easiest:
- Slight pitch toward the back
- Cover with reclaimed metal roofing, leftover shingles, or even a tarp temporarily (not ideal long-term)
Avoid roof leaks—moisture ruins stored wood and encourages mold.
Ventilation fundamentals
A reliable setup:
- Smoke inlet low (side or back, near the floor)
- Exhaust vent high (near roofline)
You can use:
- A short piece of stove pipe
- A sliding wooden vent cover
- A drilled hole pattern with a rotating cover plate
You want the ability to:
- Increase draft (more airflow = hotter burn)
- Reduce draft (less airflow = cooler smoke)
This is also where having a “systems mindset” matters. Food preservation works best when paired with other resilience habits—like growing more calories per square foot, storing pantry staples, and expanding your preservation toolkit.
💡 Recommended Solution: The Self-Sufficient Backyard
Best for: pairing smoking with home food production
Why it works:
- Encourages a backyard-based self-reliance plan
- Complements smoking/curing with garden-to-pantry habits
- Helps you think in seasons and storage, not one-off projects
Firebox options and smoke channel setups under $150
To stay safe and keep temperatures manageable, a separate firebox is usually the best choice—especially if you want to try cooler smoking ranges.
Option 1: Separate firebox (recommended)
A simple external firebox can be:
- A small stack of concrete blocks
- A metal container (like a scrap steel box) if you already have one
- A mini brick enclosure with a removable lid
Then connect firebox to smokehouse with:
- A short trench (lined with metal duct or stovepipe)
- A length of stovepipe slightly angled upward toward the smokehouse
This makes smoke cooler by the time it enters the chamber and reduces risk of flare-ups near your hanging meat.
Option 2: Internal smoke source (cheapest, but more finicky)
You can build a small fire on bricks inside the smokehouse. This is more like a “hot smoke shed” and can work, but:
- Temperature spikes are common
- Fire safety risk is higher
- Grease drips can cause flare-ups
- Creosote risk can increase if airflow is poor
If you’re going internal, at minimum:
- Use a brick/paver base
- Keep a metal drip tray below meat
- Maintain good ventilation
- Never leave it unattended
Wood selection and clean smoke
Use hardwoods:
- Oak, hickory, apple, cherry, maple, pecan
Avoid: - Painted/treated wood
- Softwoods like pine (resin = harsh smoke)
- Moldy wood
Aim for “thin blue smoke” rather than thick white smoke. Thick smoke often means incomplete combustion and bitter flavor.
Comparison/alternative note: While many people default to “whatever wood is around,” using better fuel and airflow control is a more affordable upgrade than buying bigger equipment. The right wood and draft management often solve flavor problems without spending more.
Hanging, racks, drip control, and temperature management
A smokehouse becomes truly useful when it’s adaptable. Build it so you can hang sausage one weekend and smoke trays of jerky the next.
Hanging system
Install one or two sturdy crossbars:
- Rebar, metal pipe, or a hardwood dowel
- Secure it into the frame so it won’t twist under weight
Use S-hooks or butcher’s twine. Keep spacing between items so smoke can circulate.
Rack system (optional)
Repurpose:
- Old oven racks
- Cooling racks
- Expanded metal sheets on ledgers
If you add ledgers (small rails) on the walls, you can slide racks in and out like an oven.
Drip and grease management
Grease is a major source of flare-ups and helps create creosote.
- Use a disposable foil pan or metal tray under fatty meats
- Keep meats from dripping directly onto heat source
- Clean the chamber periodically
Temperature management without expensive gear
You don’t need a high-end controller, but you do need basic feedback.
- Use a simple analog thermometer through the door/wall if you have one
- Learn your vent settings
- Adjust fire size, not just vents
General ranges:
- Cold smoking is typically under ~90°F (32°C) in the chamber (requires careful control and food-safety knowledge)
- Hot smoking is commonly 165–250°F depending on food and desired finish
If your goal is preservation (not just flavor), you’ll also want to learn about curing salt, humidity, safe internal temps, and storage methods. This is where broader food resilience planning helps.
Problem-solution bridge: Struggling with building a pantry that lasts beyond a single season? The Lost SuperFoods addresses this by focusing on shelf-stable food ideas and long-term storage thinking—useful alongside smoking and curing.
First burn, seasoning, and your first successful smoke
Before you hang food, do a seasoning burn. This burns off residues, dries the structure, and helps lay down a “good smoke” layer on the interior surfaces.
Seasoning burn checklist
- Check airflow. Open top vent partially, keep inlet adjustable.
- Start small. Use a small, clean-burning fire.
- Run 2–4 hours. Let the chamber warm and smoke lightly.
- Observe for leaks. Seal major gaps with wood strips (budget) or high-temp silicone (optional).
- Let it cool and air out. If the smoke smells harsh, you may have smoldering wood or poor draft.
Easy first smokes for beginners
- Chicken quarters: forgiving and quick
- Trout or salmon: great learning curve for smoke flavor
- Salt or garlic: low risk and teaches smoke intensity
- Jerky: best if you can hold steady temperatures and airflow
Start with hot smoking if you’re new. It’s easier to control food safety because you’re cooking while smoking.
Common problems and fast fixes
- Bitter taste: too much thick smoke → increase airflow, burn cleaner, use dry hardwood
- Sooty surface: fire not getting enough oxygen → open inlet/vent
- Uneven color: overcrowding → space food out, rotate racks
- Temp swings: too big a fire → smaller fire, steadier fuel additions
As many experienced DIYers note: “Control beats complexity.” A simple smokehouse with predictable draft can outperform a larger build that leaks smoke everywhere.
Many households also use projects like this as a stepping stone into broader resilience. If you’re building capabilities beyond smoking—like off-grid readiness—there are training-style resources people often explore.
💡 Recommended Solution: URBAN Survival Code
Best for: practical preparedness skills to support self-reliant living
Why it works:
- Encourages structured planning (not panic buying)
- Complements food preservation with broader readiness habits
- Useful for people building systems on a budget
Tools, resources, and next upgrades that keep costs down
Once your smokehouse is running, the temptation is to spend money on upgrades. Some are worth it; many aren’t. Focus on improvements that increase consistency, safety, and throughput.
High-impact, low-cost upgrades
- Add a second hanging bar for better capacity
- Add adjustable vents if you started with fixed holes
- Add a simple baffle near smoke inlet to diffuse smoke
- Add removable hooks/racks for versatility
- Add a spark screen if your firebox pops embers
Build a “preservation stack”
Smoking is most useful when it fits into a broader plan:
- Grow or source bulk food
- Preserve it in multiple ways (smoke, dehydrate, can, freeze)
- Store water, fuel, and basic medical capacity
To support that systems approach, here’s a balanced resource list you can explore (only if it matches your goals):
Tools & Resources
- The Self-Sufficient Backyard — helpful if you want your smoking hobby to pair with producing more of your own food.
- SmartWaterBox — useful if you’re also organizing water storage alongside food preservation.
- The Lost SuperFoods — useful for broader shelf-stable food ideas that complement smoking and curing.
When to build bigger (and when not to)
If you’re consistently smoking 20–40 pounds at a time, a larger smokehouse makes sense. But for most families, the compact build wins because:
- It uses less fuel
- It hits stable temps faster
- It’s easier to clean and maintain
- It’s easier to learn on
Conclusion
Learning how to build a smokehouse from scratch for under $150 comes down to smart sourcing, simple design, and controlled airflow. Keep the build compact, use reclaimed lumber, prioritize a safe firebox setup, and make sure you can adjust intake and exhaust. Once it’s seasoned and you’ve done a few practice runs, your smokehouse becomes more than a weekend project—it becomes a reliable tool for cooking, preserving, and building real self-sufficiency.
If you treat smoking as part of a bigger preservation system—growing more food, storing water, and developing practical readiness—your budget smokehouse can deliver value year after year.
FAQ
How much does it really cost to build a smokehouse from scratch for under $150?
It’s achievable if you use reclaimed wood and keep the structure small (around 3’x3’ to 4’x4’). Hardware, screws, hinges, and vent parts are usually the main expenses. The more you can salvage (blocks, boards, racks), the easier it is to stay under $150.
What’s the best size for a DIY backyard smokehouse?
A compact smokehouse around 3’x3’ and 6’–7’ tall is a sweet spot for most households. It’s big enough to hang meats and smoke multiple racks but small enough to heat efficiently and control airflow.
Can I cold smoke in a homemade smokehouse?
Yes, but cold smoking requires stricter temperature control (generally staying below about 90°F/32°C in the chamber) and careful food-safety practices. Using a separate firebox and a smoke channel makes cold smoking more practical in a DIY smokehouse.
What wood should I use for clean smoke flavor?
Use dry hardwoods such as oak, hickory, apple, cherry, maple, or pecan. Avoid softwoods (pine), treated or painted wood, and any wood with unknown chemicals. Clean-burning fuel and good airflow help prevent bitter smoke.
Do I need a separate firebox, or can I build the fire inside?
You can do either, but a separate firebox is safer and offers better temperature control—especially if you want cooler smoke. Internal fires are cheaper to build but tend to swing temperatures and increase flare-up risk.
RANK MATH SEO BLOCK
SEO Title (≤60 chars): Build a Smokehouse From Scratch for Under $150
Meta Description (≤160 chars): Learn how to build a smokehouse from scratch for under $150 with a simple DIY plan, budget materials list, airflow tips, and first-smoke guidance.
URL Slug: build-smokehouse-under-150
Focus Keyword: How to Build a Smokehouse From Scratch for Under $150
Suggested Schema Type: HowTo / FAQ