
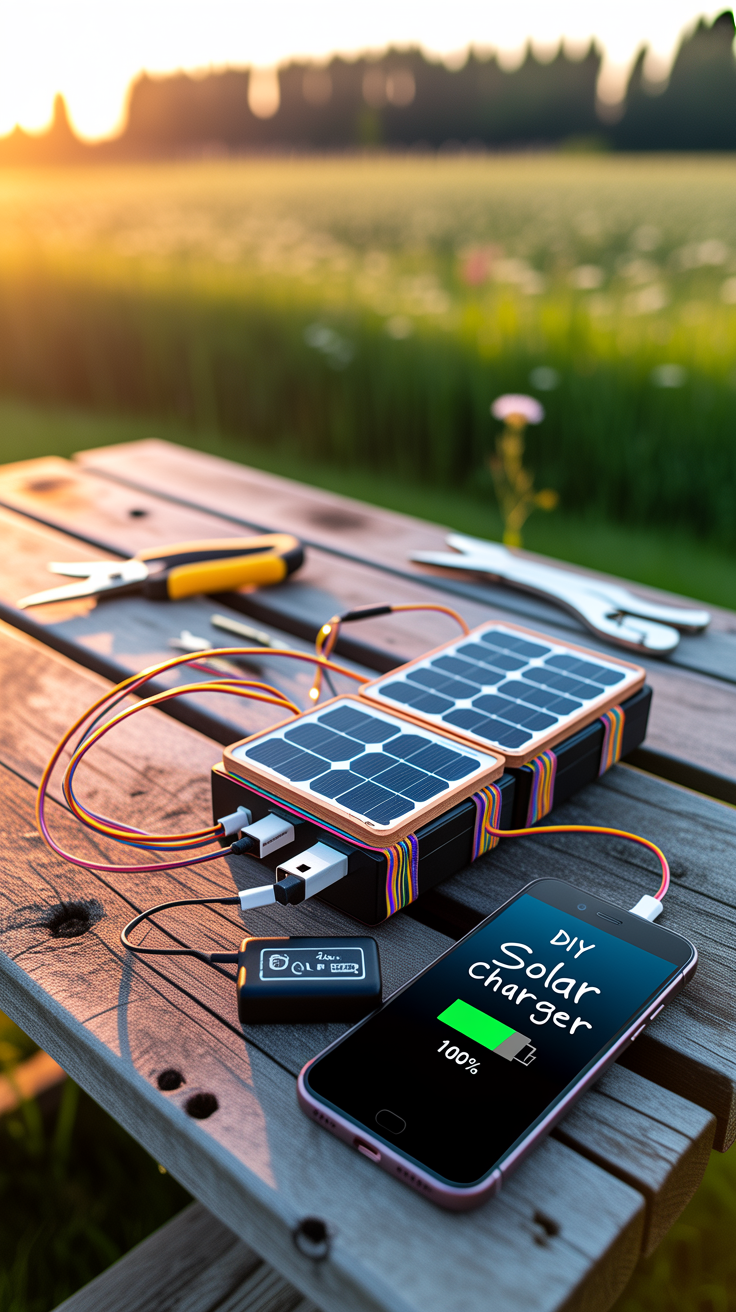
DIY Solar Phone Charger You Can Build for Under $20
A dead phone isn’t just inconvenient—when you’re outdoors, traveling, or dealing with a power outage, it can mean losing maps, weather alerts, emergency contacts, and light. The good news: a DIY solar phone charger you can build for under $20 is realistic with a simple design and a few common parts. You don’t need fancy tools, and you don’t need to be an electrician—you just need to follow a safe, proven wiring approach and set realistic expectations about how much power a small solar panel can actually deliver.
This guide walks you through a budget build that charges a phone through USB in sunlight, plus upgrades that make it more reliable for real-world use. If you’re also building broader resilience at home, pairing small “everyday power” projects with practical off-grid know-how can make a noticeable difference over time. Many people who work toward that kind of layered readiness rely on resources like the Energy Revolution System as a structured way to think through home energy independence rather than hunting tips one-by-one.
Solar charging basics for phones and USB devices
A phone doesn’t charge because it “sees solar.” It charges because it receives stable 5V USB power at sufficient current. Solar panels, however, don’t naturally output “USB-ready” power. Their voltage and current change constantly with cloud cover, shade, heat, and panel angle. Your job in this DIY build is to turn the panel’s variable output into stable 5V without frying your phone or causing annoying charge-start/stop cycles.
What “under $20” can realistically do
At this budget tier, you’re typically working with:
- A small panel (often 5–6V nominal, a few watts)
- A basic DC-DC converter (buck/boost or step-up/step-down module)
- A USB output port or phone cable
- Simple wiring and weather-proofing
This can work well for:
- Topping off a phone slowly in good sun
- Keeping a power bank or small battery pack charged (often more stable than charging a phone directly)
- Emergency use and casual off-grid charging
It may struggle with:
- Fast charging
- Charging in marginal sun (heavy clouds, shade, winter sun angles)
- Charging newer phones that are picky about voltage stability
“Direct-to-phone” vs “charge-a-battery first”
For reliability, most DIYers get better results by charging a power bank (or a small battery + controller) first, then charging the phone from that stable battery source. Your budget build can do either, but you’ll see fewer disconnects when there’s a battery buffer.
“Stable output matters more than peak output for USB charging—especially with modern phones that constantly handshake for power.”
—A common rule taught in field electronics and portable power design
Bill of materials for a DIY solar phone charger under $20
Exact prices vary, but the components below are commonly available online or in local electronics shops, and they’re the typical “minimum viable kit” for a functional build.
Core components (minimum build)
- Small solar panel (5–6V nominal)
Look for a compact panel intended for DIY projects (not a trickle panel meant only for maintenance). - DC-DC converter module (5V USB output)
A buck/boost module that can regulate to 5V is ideal because solar voltage can drift. - USB output (USB-A female port module or a short sacrificed USB cable)
- Schottky diode (optional but helpful)
Prevents reverse current into the panel in low light. - Wire + connectors (salvaged wire works fine)
- Enclosure (plastic food container, soap case, project box, or even layered heat-shrink + tape)
- Basic tools: scissors/knife, wire stripper, lighter/heat gun (optional), small screwdriver
“Nice-to-have” upgrades (still inexpensive)
- Inline USB power meter (optional tool)
Helps you see whether you’re getting 5V and usable current. - Fuse (small inline fuse on the input)
Adds safety if you’re experimenting with unknown panels. - Weatherproofing: silicone sealant, hot glue, shrink tubing
Budget tip: If you already have a spare USB cable and some scrap wire, you can keep costs down and still build a reliable charger.
Safe wiring plan and design choices that prevent frustration
A lot of DIY solar charging disappointments come from two issues: unstable voltage and poor connections. A stable wiring plan improves both safety and performance.
Recommended simple architecture (most reliable under $20)
Solar Panel → (Diode optional) → DC-DC converter → USB out
That’s it. The key is choosing a converter that can maintain 5V as the panel output fluctuates.
Why the diode helps
In dim conditions, a panel can become a load rather than a source. A Schottky diode (low voltage drop) helps prevent a phone or power bank from pushing current backward into the panel. It’s not always mandatory, but it often improves real-world behavior.
Avoid these common mistakes
- Wiring the USB directly to the panel (no regulation)
You might see 5V in perfect sun with no load, but as soon as the phone draws power, voltage sags or spikes. - Using very thin, long wires
Voltage drop becomes noticeable, and USB devices get picky. - Charging the phone in partial shade
Even a small shadow line across the panel can collapse output.
Practical expectation: you’ll chase sunlight
Small panels can work well, but they need:
- Good angle to the sun (tilt matters)
- No shade
- Cool airflow (panels lose output when hot)
If you want a more complete off-grid approach that’s more than “I can maybe charge a phone,” many people look at bigger-picture frameworks. For example, some users treat Ultimate OFF-GRID Generator as an educational resource to understand broader off-grid power concepts and options beyond tiny panels—useful when you’re ready to scale up from phone charging to actually running essentials.
Step-by-step build process (simple, dependable, and beginner-friendly)
This build focuses on reliability and ease. Read through once before you start.
Prepare the solar panel leads
- Identify the panel’s positive (+) and negative (-) leads.
Many panels mark polarity. If not, use a multimeter if you have one. - Trim leads to a manageable length (shorter is usually better).
- Strip about 6–8 mm of insulation.
Add the diode (optional but recommended)
- Place the Schottky diode in series on the positive line.
- Ensure correct direction: current must flow from panel to converter.
- Insulate the joint with heat shrink or tape.
Wire the DC-DC converter
- Connect panel + (after diode, if used) to converter IN+.
- Connect panel – to converter IN-.
- Confirm the converter is set for 5V output (some modules have a tiny adjustment screw).
Add the USB output
You have two clean options:
- USB female breakout module: connect converter OUT+ and OUT- to the USB module inputs.
- Sacrificed USB cable: cut a USB cable, identify the red (+5V) and black (GND) wires, and connect those to converter output.
Important: Don’t connect the data wires (often green/white) unless your converter module specifically supports USB charging ID resistors or negotiation. For a basic build, you usually only need power and ground.
Enclose and strain-relieve everything
- Mount the converter inside the enclosure.
- Ensure wires can’t pull directly on solder joints (strain relief).
- Add a small opening for USB output and seal edges if needed.
Test in sunlight
- Place the panel in direct sun and angle it for maximum brightness.
- Plug in a low-stakes device first (e.g., a small USB light) if you have one.
- Then plug in your phone or (better) a power bank and watch for stable charging.
Charging performance tips that make a small panel feel twice as effective
Even a good DIY build can feel weak if you don’t optimize the “field use” side. These practical adjustments can noticeably improve results.
Use a power bank as a buffer
Phones often stop charging if the input wobbles. A basic power bank is more tolerant and acts like a buffer:
- Solar charges power bank (variable input tolerated)
- Power bank charges phone (steady output)
This approach also lets you store energy while you’re hiking or working, then charge your phone later.
Optimize panel positioning
- Tilt toward the sun; don’t lay it flat unless the sun is directly overhead.
- Reposition the panel every 30–60 minutes for best output.
- Keep it out of shade—tree branch shadows matter more than you think.
Keep connections clean and short
- Shorter cable runs reduce voltage drop.
- Snug connectors reduce intermittent charging.
Accept “slow and steady”
In peak sun, a small DIY panel may only provide a modest charge rate. That’s still valuable:
- It can keep your phone from dying
- It can extend runtime for navigation and emergency comms
- It can maintain a backup battery pack
If you’re building toward wider self-reliance, it also helps to plan beyond electricity: water storage, food resilience, and home readiness all work together. Some people keep an all-in-one preparedness roadmap like The Self-Sufficient Backyard as a way to connect small projects (like this charger) to bigger systems at home.
Optional upgrades that still keep costs low
If you want your DIY solar phone charger to feel more “set and forget,” these upgrades can be done gradually.
Add a simple charge controller + small battery
A tiny lithium charge controller and a small cell can create a much smoother experience:
- Solar charges battery more predictably
- Battery outputs steady 5V via a boost converter
Note: Lithium batteries require correct charging protection. If you’re not comfortable, stick to the “panel → converter → power bank” approach.
Add a volt/amp readout
A cheap inline meter or panel meter helps you troubleshoot instantly:
- If voltage is below ~5V under load, your phone may disconnect
- If current is near zero, you’re shaded or miswired
Weatherproofing for real outdoor use
- Seal enclosure seams with silicone
- Add a drip loop in the cable
- Mount the panel securely so wind doesn’t yank wires
Scale the concept, not the complexity
If you like this project, the next step is often:
- Larger foldable solar panel
- Larger battery bank
- More robust regulation
That’s where broader energy planning can matter. As one off-grid educator might put it:
“As demand grows, a system approach beats a gadget approach—**Energy Revolution System** can help you think in terms of loads, storage, and redundancy instead of random upgrades.”
Common troubleshooting and quick fixes
If your charger doesn’t work immediately, don’t assume the panel is bad. Most issues are wiring, shading, or regulator settings.
Phone connects and disconnects repeatedly
Likely causes:
- Sunlight fluctuating
- Converter not holding 5V under load
- Cable too long/thin
Fixes:
- Charge a power bank first
- Shorten cable and improve connections
- Re-angle panel for stronger sun
No charging indicator at all
Likely causes:
- Polarity reversed
- Converter miswired (IN/OUT swapped)
- Bad solder joint or broken cable
Fixes:
- Re-check + and –
- Inspect and tug-test connections
- Test with another USB cable
Converter gets hot
Likely causes:
- Wrong regulator type for your panel
- Short circuit or overload
Fixes:
- Disconnect immediately
- Inspect for shorts
- Use a converter rated for your expected current
- Add ventilation or reduce load
Works at noon, fails in late afternoon
That’s normal with small panels. Late-day sun is weaker and lower angle. Re-aim the panel, and consider charging a power bank during the best sun window.
Problem-solution bridge: Struggling with staying prepared when multiple basic needs fail at once—power, water, and communication? Many people address this by organizing their readiness around core systems. For water planning specifically, resources like SmartWaterBox are often used as a starting point for thinking through storage and access in a cleaner, more structured way.
Tools, resources, and next-step preparedness additions
A DIY solar phone charger is a great micro-project—small cost, real value. If you want to turn “small wins” into a dependable lifestyle upgrade, these resources are commonly used to build broader capability across energy and self-sufficiency.
Resource list for building beyond a basic charger
- Energy Revolution System — helpful for organizing home energy thinking (loads, storage, off-grid options)
- Ultimate OFF-GRID Generator — general education on expanding from small DIY power to larger off-grid concepts
- The Self-Sufficient Backyard — broader self-reliance planning beyond electricity
💡 Recommended Solution: Energy Revolution System
Best for: People who want a structured way to think about home energy resilience
Why it works:
- Helps connect small DIY projects to a bigger plan
- Encourages system-level thinking (power + storage + usage)
- Useful as a framework when you’re ready to scale
Comparison/alternative: While buying a larger commercial solar charger is popular for convenience, building your own teaches you how regulation, cables, and sunlight variability affect charging—knowledge that transfers directly to bigger off-grid setups like those discussed in Ultimate OFF-GRID Generator.
Conclusion
A DIY solar phone charger you can build for under $20 is one of the most practical beginner projects in off-grid readiness: it’s affordable, teaches real power fundamentals, and gives you a way to keep communications alive when outlets aren’t available. The key to making it work is simple but non-negotiable: regulate the panel output to stable USB power, keep wiring short and solid, and use a power bank buffer when you want consistent charging.
Once you’ve built and tested this small charger, you’ll have the confidence to expand—bigger panels, battery storage, and more reliable off-grid capability. If you want to go beyond the one-off project mindset, resources like Energy Revolution System can help you connect “DIY hacks” into a cohesive plan that supports real-life resilience.
FAQ
Can a DIY solar phone charger under $20 charge a modern smartphone reliably?
Yes, in strong sunlight it can work, but reliability depends on having a proper 5V regulator and good sunlight. For best results, charge a power bank first, then charge the phone from the power bank.
Should I connect my phone directly to the solar panel?
Not recommended. Solar panels output variable voltage and current. A regulator (DC-DC converter) is the safe minimum, and a battery buffer (power bank) usually prevents charge cycling.
What size solar panel is best for a budget DIY solar phone charger?
A small 5–6V nominal panel is the typical starting point. Larger wattage generally charges faster, but even small panels can be useful for topping off a phone or maintaining a power bank in good sun.
Why does my phone connect and disconnect while solar charging?
Usually because the voltage drops below what your phone expects when clouds pass, shade hits the panel, or cable losses add up. Re-aim the panel, shorten cables, and consider charging a power bank instead.
Is building a DIY solar phone charger safe?
It can be safe if you use correct polarity, insulate connections, and regulate to stable 5V before USB. If you add lithium batteries, use proper protection/charging control and don’t improvise battery charging methods.
Rank Math SEO Block
SEO Title (≤60 chars): DIY Solar Phone Charger Under $20 (Build Guide)
Meta Description (≤160 chars): Build a DIY Solar Phone Charger You Can Build for Under $20 with a simple parts list, safe wiring, and performance tips for reliable USB charging.
URL Slug: diy-solar-phone-charger-under-20
Focus Keyword: DIY Solar Phone Charger You Can Build for Under $20
Suggested Schema Type: HowTo / FAQ