
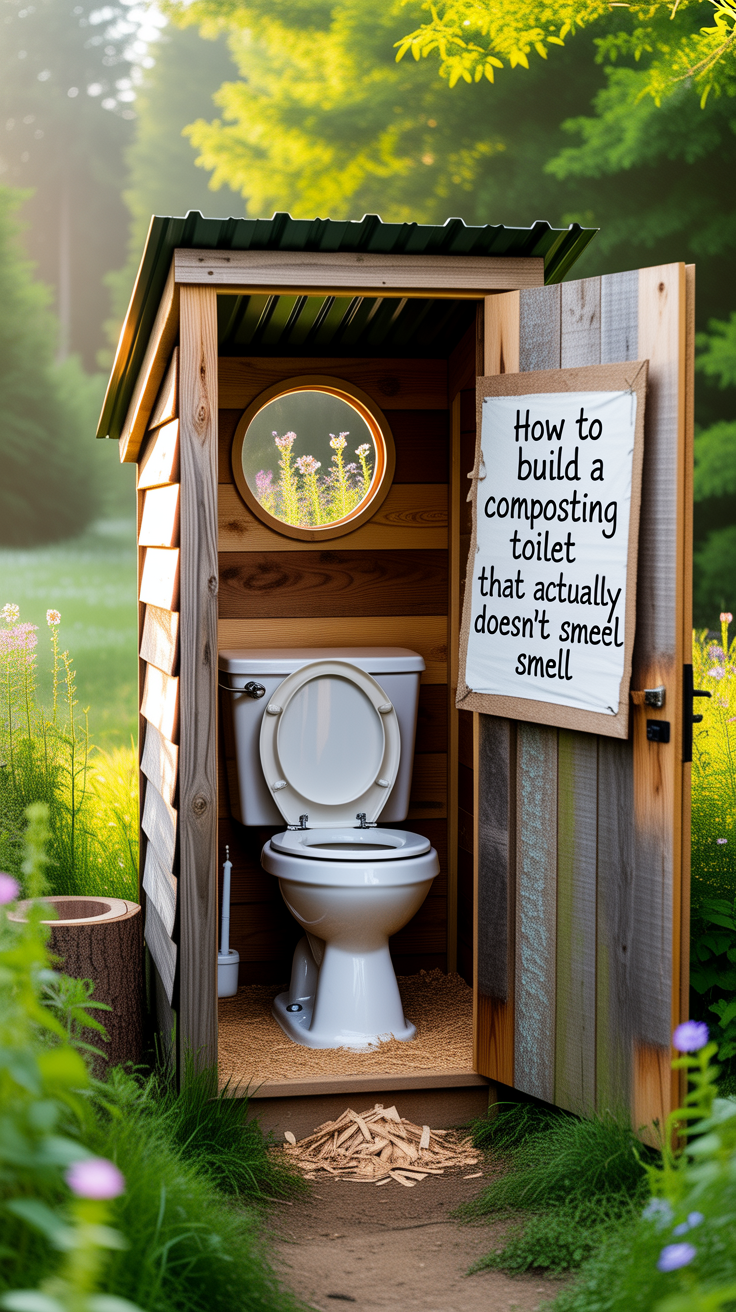
How to Build a Composting Toilet That Actually Doesn’t Smell
A composting toilet can be clean, comfortable, and genuinely odor-free—when it’s built around airflow, moisture control, and the right cover material. If you’ve tried (or smelled) a “bucket toilet” that went wrong, the good news is that stink isn’t inevitable. The best DIY designs prevent odor at the source by keeping the solids aerobic (oxygen-rich), keeping liquids from soaking the pile, and venting the container continuously.
This guide walks you through a proven, buildable approach for how to build a composting toilet that actually doesn’t smell—using practical materials, clear construction steps, and realistic operating habits that work in cabins, tiny homes, RV conversions, workshops, and off-grid properties.
Composting toilet odors and what causes them
Odor isn’t a mystery with composting toilets. Smell happens when one (or more) of these conditions show up:
Anaerobic conditions in the solids container
When the solids become oxygen-starved, bacteria shift to anaerobic decomposition, creating sulfur-like and “septic” smells. This is usually caused by:
- Too much moisture
- Compaction (no fluffy carbon)
- Poor airflow (no fan or blocked vent)
Urine mixing into solids
Urine is not “bad,” but mixing a lot of liquid into the solids bin can create a soggy, low-oxygen mass—perfect for odor. The fix is urine separation or excellent drainage and carbon balance.
Not enough cover material (carbon)
Cover material (like fine sawdust or coco coir) is what caps odor immediately after use by:
- Absorbing moisture
- Trapping odor compounds
- Creating air pockets for aerobic breakdown
Leaks and unsealed air paths
If the toilet box is not sealed, the fan won’t pull air the right way. Odors will escape into the room instead of exiting through the vent.
Venting mistakes
A composting toilet can be “odorless” even in small spaces when the vent is:
- Continuous
- Routed properly (up and out)
- Not constricted by tiny tubing or too many bends
As many off-grid builders put it: you don’t “hide” odor—you design airflow so odor never enters the room.
The odor-free design principles that make DIY builds work
Before cutting wood, lock in these design rules. They’re the difference between “works great” and “never again.”
Use constant negative pressure
A small fan on the vent creates negative pressure inside the container so air always moves:
bathroom → toilet → vent pipe → outside.
Keep liquids out of the solids whenever possible
Urine diversion is the single biggest “easy win” for smell prevention. It reduces:
- Moisture overload
- Ammonia odor
- Bin weight and mess
Use a deep, calorie-free “carbon system”
Your cover material is your daily operating system. The best options for odor control are:
- Fine sawdust (kiln-dried if possible)
- Coco coir
- Peat moss (not always sustainable; use thoughtfully)
Avoid using chunky wood chips alone—they don’t seal odors as well.
Make the box airtight except for the intended airflow
Seal lid, seat base, joints, and access doors. Odor-free composting toilets are more like a controlled airflow device than a “container.”
Materials and tools for a DIY composting toilet build
You can build this with common tools. Below is a functional, odor-focused parts list (brand-agnostic).
Core build materials
- Plywood (½” or ¾”) for the outer box
- Hinges and latch for an access door or top lid
- Toilet seat (standard round/elongated)
- Two containers (recommended):
- Solids bin (5–6 gallon bucket or rectangular container)
- Urine jug (1–2.5 gallon) if diverting
- Silicone sealant / weather stripping / foam gasket tape
- Screws, construction adhesive (optional)
Vent materials
- 2″–3″ PVC or ABS pipe (3″ is better for smooth airflow)
- Pipe elbows (minimize bends)
- Roof/wall vent cap with screen (keeps bugs out)
- 12V or USB fan (computer-style inline or duct fan style)
- Optional: charcoal filter on the room side (not required when venting is correct)
Cover materials storage
- A lidded container for sawdust/coir
- Small scoop or cup
Tools
- Drill/driver
- Jigsaw or hole saw (for seat opening)
- Measuring tape, square
- Sandpaper
- Caulk gun
Composting toilet layout that prevents odor from day one
This layout is consistent with many successful DIY builds:
The two-stream system (recommended)
- Front: urine diverter leading to a sealed jug
- Back: solids drop into a container that gets carbon added each use
- Vent: pulls air from the solids chamber up and out
Separating liquids from solids drastically stabilizes the solids container.
Container height and user comfort
Aim for typical toilet height (15″–17″ to the seat). This often means:
- A box tall enough to fit the solids container
- A seat platform that’s stable and easy to clean
Smooth interior surfaces
Line or seal the inside for wipe-clean maintenance. Paint, polyurethane, or a removable liner panel helps.
Build process for an odor-free composting toilet box
Cut and assemble the box
- Plan dimensions around your container(s).
Leave clearance to slide the solids bin out easily. - Build a rectangular box with:
- A top platform for the toilet seat
- An access door (front or side) or a hinged top for removal
- Install a toilet seat on the top panel.
Cut the solids drop hole
- Center the hole over the solids container.
- Make it large enough to prevent “contact” and to reduce mess.
- Sand edges.
Add urine diversion (strongly recommended)
You can:
- Use a purpose-built urine diverter insert, or
- DIY a funnel channel (less comfortable, more finicky)
Route the urine line to a sealed jug that can be removed easily.
Seal everything
This is where odor-free builds are made:
- Use weather stripping under the seat base if needed
- Seal all seams inside the box with silicone
- Ensure access door closes tightly (add gasket and latch)
Venting that actually works in small spaces
Your vent system is the “engine” of odor control.
Pipe size and routing
- 3″ pipe is excellent for low resistance.
- 2″ pipe can work if runs are short and the fan is adequate.
- Keep it as straight as possible.
- Route it up and out (roof vent is ideal; wall exit can work if it goes upward quickly).
Fan placement
A common approach:
- Fan mounted in-line on the vent near the top of the box or in the pipe run.
- The fan should pull air from the toilet (negative pressure).
Powering the fan
- 12V DC systems are common in off-grid setups (solar/battery).
- USB fans can work for tiny builds if airflow is sufficient.
If you’re building a broader off-grid system (power + ventilation + water resilience), many homesteaders bundle their planning using resources like The Self-Sufficient Backyard to make sure sanitation fits into the bigger picture of site layout, waste handling, and utility independence.
Expert quote format:
“As many off-grid sanitation educators note, ‘a composting toilet doesn’t have to smell—continuous ventilation and dry carbon cover are the two non-negotiables for an indoor install.’”
Prevent backdraft and bugs
- Add a vent cap with screen outdoors.
- Avoid terminating the vent near windows or roof intakes.
- Make sure the pipe doesn’t dip downward where condensation can collect.
The cover material system that stops smell instantly
If you want “doesn’t smell,” the cover routine must be simple and consistent.
Best cover materials for odor control
- Fine sawdust (best overall if dry and untreated)
- Coco coir (clean, consistent, low odor)
- Shredded leaves (works, but can vary and may not seal as well)
- Wood pellets (can be excellent when broken down a bit)
Keep it dry. A damp cover material causes clumping and poor sealing.
How much to add each use
- Add enough to fully cover visible waste.
- If you smell anything after covering, add a bit more.
What not to use
- Ash alone (can create dust and doesn’t absorb like carbon)
- Cat litter with perfumes (unnecessary chemicals)
- Fresh grass clippings (too wet)
Daily operation rules that keep your composting toilet odor-free
A well-built toilet can still smell if used incorrectly. These habits make the system “set and forget.”
Keep the fan running
Continuous venting is what prevents “bathroom odor.” If you must turn the fan off:
- Use the toilet only when the fan is on
- Or expect some odor drift
Manage urine carefully
If urine is separated:
- Empty the jug frequently
- Rinse with a splash of water and a bit of vinegar if scale forms
- Keep the jug cap sealed
If urine is not separated:
- Add extra carbon and mix lightly (carefully)
- Expect more frequent bin changes
- Expect higher risk of odor in humid climates
Rotate and empty before it becomes a problem
Don’t wait until the bin is overfull. Overfilling leads to:
- Contact mess
- Poor airflow
- Stronger odor during change-out
Emptying and composting safely (realistic, no hype)
A DIY composting toilet is often a collection toilet first and a “composting” system second—especially for beginners. You can still manage it responsibly; just be honest about process and timeline.
Handling solids
- Tie off or cover the container for transport.
- Add a final layer of carbon before closing.
- Clean edges of the bin each change-out.
Outdoor composting considerations
Rules vary by location. In many settings, human waste composting requires:
- A dedicated, enclosed compost system
- Long curing times
- Keeping it away from gardens and water sources
If you’re building a long-term resilience plan (food + water + sanitation), it helps to pair your toilet setup with broader preparedness guidance. Many people keep a compact reference like The Lost SuperFoods to support off-grid living in a practical way—especially when you’re managing waste, water, and food storage together.
Troubleshooting smells fast with a simple checklist
If you detect odor, don’t guess—test the system logically.
Smell inside the bathroom
Likely causes:
- Fan off or too weak
- Air leaks in box or access door
- Vent pipe restriction or backdraft
Fixes:
- Improve seals (gaskets, silicone)
- Increase fan airflow
- Increase pipe diameter or reduce bends
- Ensure vent terminates in a good location outdoors
Ammonia smell
Likely causes:
- Urine getting into solids
- Urine jug not sealed
- Urine line leaking
Fixes:
- Improve diversion alignment
- Improve jug cap and fittings
- Add a rinse/clean routine
“Compost” smell (earthy but noticeable)
Likely causes:
- Not enough cover material
- Cover material too coarse
- Solids too wet
Fixes:
- Switch to finer carbon (sawdust/coir)
- Add more per use
- Confirm urine separation
Rotten/anaerobic smell
Likely causes:
- Soggy, compacted bin
- Fan not moving enough air
Fixes:
- Empty the bin and reset
- Increase airflow
- Use drier carbon and keep it fluffy
Tools and resources that help an off-grid bathroom work better
A composting toilet is often part of a larger “systems” project—water, hygiene, power, and emergency readiness.
💡 Recommended Solution: Water Freedom System
Best for: Planning water resilience alongside sanitation
Why it works:
- Helps you think through water availability for cleaning and hygiene
- Supports a more complete off-grid bathroom plan
- Useful when you’re balancing low-water toilets with safe handwashing
Many professionals also rely on tools like SmartWaterBox to streamline water preparedness planning—because sanitation doesn’t stay odor-free without a realistic plan for cleaning, rinse water, and basic hygiene.
Problem-solution bridge:
Struggling with reliable hygiene water while running a low-water composting toilet? SmartWaterBox addresses this by focusing your setup around practical water readiness so your bathroom routine stays simple and sanitary.
If you’re powering a vent fan off-grid, stable electricity matters. While many people start with small solar + battery kits, others look into broader DIY power approaches. Ultimate OFF-GRID Generator is often discussed as an alternative route for people who want a step-by-step way to think through backup power—useful when your odor control depends on continuous airflow.
A simple example setup that works (and why)
Here’s a practical “starter” configuration that consistently stays low-odor:
- Urine diverter to a sealed, removable jug
- 5-gallon solids bucket lined (optional)
- Fine sawdust stored in a lidded bin next to the toilet
- 3″ vent pipe, short run, minimal bends
- Small continuous fan pulling air out
- Sealed access door with gasket + latch
What users report (general outcome): once seals are tight and the fan runs continuously, the bathroom smell becomes neutral—often within the first day—because the airflow prevents odor from entering the room in the first place.
Comparison/alternative:
While a “no-fan bucket toilet” is popular for ultra-minimalism, a vented, urine-diverting build is a far more reliable option for indoor use because it controls both moisture and airflow—two factors simple buckets can’t manage consistently.
Conclusion
Learning how to build a composting toilet that actually doesn’t smell comes down to three non-negotiables: separate liquids, keep solids covered with dry carbon, and maintain continuous negative-pressure venting. Do those well—and seal your box so air only travels the intended route—and your composting toilet can be genuinely pleasant to use indoors.
Build it like a controlled airflow system, operate it like a moisture-managed compost process, and troubleshoot with a checklist instead of guesswork. The result is a simple, durable off-grid bathroom solution that works day after day without the smell that gives composting toilets a bad reputation.
FAQ
How to build a composting toilet that actually doesn’t smell in a tiny house
Use urine diversion, a constant vent fan, and fine dry cover material. Seal the box so airflow is forced from the room into the toilet and out the vent instead of letting odors leak around the lid or access door.
What is the best cover material for an odorless composting toilet
Fine sawdust and coco coir are top choices because they absorb moisture and cap odors quickly. Coarse wood chips can work but often don’t seal smells as effectively.
Do composting toilets smell without a fan
They often do indoors, especially in warm climates or high-use situations. A fan creates negative pressure so odor doesn’t drift into the room, making it one of the simplest ways to keep the system consistently smell-free.
Why does my composting toilet smell like ammonia
Ammonia odor usually means urine is mixing with solids or the urine container/line isn’t sealed. Improve urine separation alignment, tighten fittings, and empty/clean the urine jug more frequently.
How often should I empty a DIY composting toilet solids bin
Empty before it’s overfull—commonly every few days to a couple of weeks depending on container size and number of users. Continuous airflow and enough carbon help extend time between change-outs by keeping the contents drier and less odorous.
RANK MATH SEO BLOCK
SEO Title (≤60 chars): Odor-Free DIY Composting Toilet Build (No Smell)
Meta Description (≤160 chars): Learn how to build a composting toilet that actually doesn’t smell with urine diversion, airtight sealing, and proper venting for off-grid use.
URL Slug: build-composting-toilet-doesnt-smell
Focus Keyword: How to Build a Composting Toilet That Actually Doesn’t Smell
Suggested Schema Type: HowTo / FAQ