
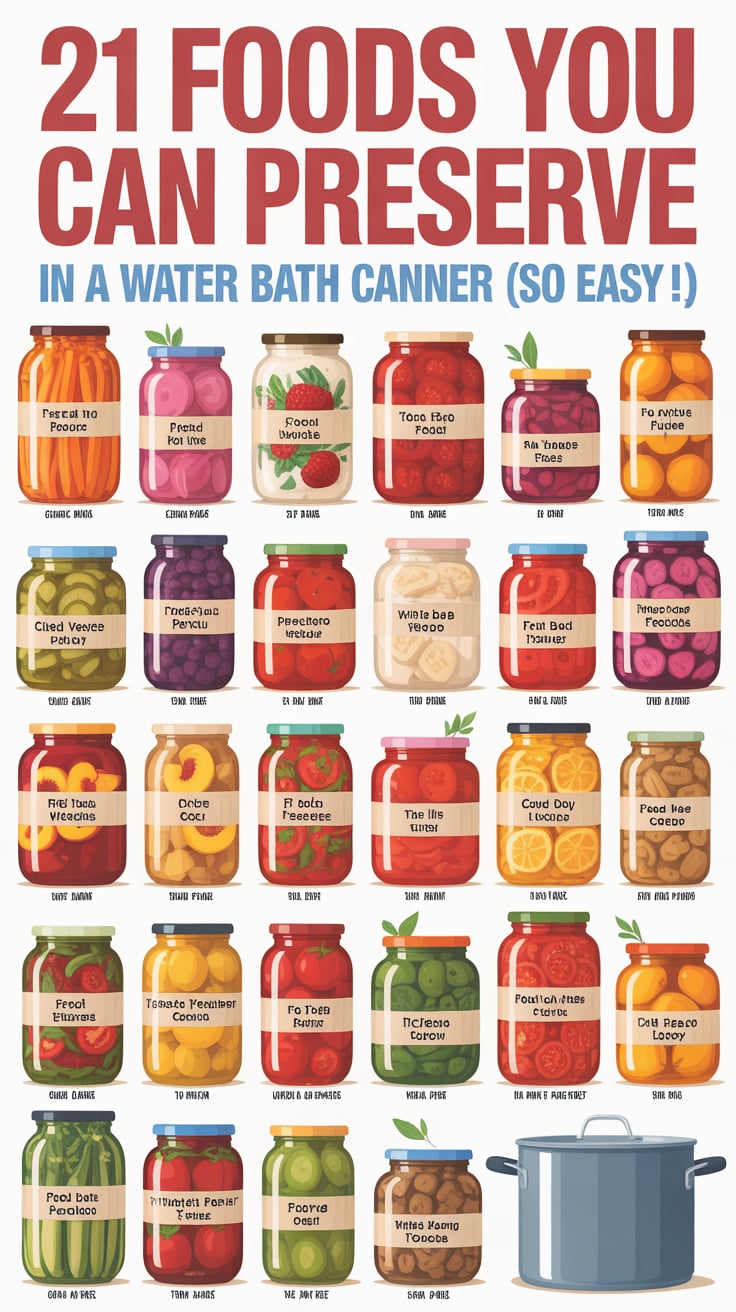
Canning is the simplest way to build a shelf-stable pantry, reduce food waste, and capture peak-season flavor. With a basic setup and a few safety rules, there are at least 21 foods you can preserve in a water bath canner (so easy!)—from juicy fruits and bright marmalades to crisp pickles and classic tomato favorites. This guide walks you through exactly which foods fit water-bath canning, how to do it safely, and practical tips to get perfect seals every time.
If you’re also thinking about emergency water storage for canning days or outages, a compact system like SmartWaterBox can help you keep clean water on hand without taking up valuable space.
Canning basics to protect flavor and food safety
Water-bath canning is for high-acid foods (pH 4.6 or lower), or foods made high-acid by adding vinegar or citrus. That acidity, combined with boiling temperatures, keeps botulism at bay and preserves taste, color, and texture.
Key principles to remember
- Choose high-acid recipes only. Fruit, fruit spreads, acidified tomatoes, and pickled vegetables are ideal.
- Use tested recipes. Follow reliable, modern sources for ingredient ratios and processing times, such as the National Center for Home Food Preservation and the USDA Complete Guide to Home Canning.
- Add acid when required. Tomatoes must be acidified for safe water-bath canning.
- Adjust for altitude. Higher elevations require longer processing.
- Mind headspace, jar prep, and air-bubble removal. These small details ensure strong seals and prevent siphoning.
Equipment checklist
- Water bath canner or a deep stockpot with a rack (water must cover jars by at least 1 inch)
- Mason jars with new lids and screw bands
- Jar lifter, canning funnel, bubble popper/headspace tool
- Clean cloths, white vinegar (to wipe rims), and a timer
Safety resources you’ll use often
- National Center for Home Food Preservation (University of Georgia)
- USDA Complete Guide to Home Canning
- Ball Canning (tested recipes and pectin know-how)
Before you start: Wash jars, lids, and bands in hot soapy water. Keep jars hot until filling to prevent thermal shock. Ladle hot food into jars, leaving the correct headspace, remove bubbles, wipe rims with vinegar, apply lids/fingertips-tight bands, process in boiling water, then cool 12–24 hours before checking seals. Label with product and date. For a step-by-step equipment primer, see [Beginner’s guide to canning tools](INTERNAL LINK PLACEHOLDER).
Fruits that love the water bath canner
High-acid fruits are the easiest wins. Choose ripe but firm produce, and avoid overripe fruit for preserves you want to set. Here are eight all-stars with tips for each.
- Strawberries
- Ideal for jam or whole berries in light syrup. Keep heat gentle to protect color, and use a little lemon juice in jam for brightness and gel support.
- Blueberries
- Naturally high in pectin. Lightly mash for jam, or can whole berries in syrup for desserts. Add a cinnamon stick per jar for a cozy twist.
- Raspberries or Blackberries
- Incredible for seed-in jam or clear jelly. Strain through a jelly bag if you prefer seedless. Skim foam before filling for a jewel-like finish.
- Peaches
- Slip skins by blanching, then can halves/slices in syrup or make peach jam. A splash of bottled lemon juice helps keep color. Freestone varieties are easiest to pit.
- Applesauce
- A true beginner classic. Sweeten to taste or leave unsweetened. Spice variations (cinnamon, nutmeg) are common; avoid starch thickeners. For advanced tips, see [How to make smooth applesauce](INTERNAL LINK PLACEHOLDER).
- Pears
- Can in light syrup for desserts and charcuterie boards. Firmer pears (like Bartlett picked a tad early) hold shape. Add a knob of fresh ginger to each jar for a gentle zing.
- Cherries
- Sweet or sour cherries can be canned in syrup or made into jam. Pit thoroughly; for a sophisticated note, add a splash of vanilla to syrup.
- Grapes (juice or jelly)
- Steam-juice or simmer and strain for grape juice or jelly. Use powdered or liquid pectin per a tested recipe for reliable set.
Tip: For jams and jellies, follow pectin package directions or a tested recipe to match fruit acidity and sugar—it’s the surest path to a reliable set. Ball Canning is a helpful reference for pectin use and jam troubleshooting. For safety fundamentals on fruit canning, the National Center for Home Food Preservation is your go-to reference.
Tropical and specialty fruit spreads you can process safely
These bright additions round out your fruit shelf. They pair beautifully with breakfast, charcuterie, and baking, and they make reliable gifts.
- Pineapple
- High-acid and flavorful. Can in juice or syrup, or make pineapple jam. Trim eyes thoroughly and keep pieces uniform for even heating.
- Oranges (Marmalade)
- Classic Seville orange marmalade or mixed citrus marmalade. Soften peels well to avoid chewy bits. The natural pectin in citrus helps set; measure sugar precisely.
- Apricots
- Wonderful for jam, preserves, or halves. Briefly blanch to slip skins if desired. Apricot jam sets easily and keeps that sunny flavor on your shelf.
- Apple Butter
- Slow-cooked apple purée with warm spices. For safe water-bath canning, use a tested recipe; do not can pumpkin butter (low-acid). Apple butter thickens as it reduces—don’t add starch thickeners.
- Sweet Relish
- Typically made from cucumbers, onions, and peppers with vinegar and sugar. This acidified condiment is versatile on sandwiches and picnic fare. Keep the vinegar-to-veg ratio from a tested recipe.
Pro tip: Tested recipes protect acidity. Modern guidance from sources like the USDA and NCHFP helps ensure your flavors and safety are on point. If you’re building a broader long-term pantry plan, you might appreciate the practical guidance in The Lost SuperFoods for low-tech preservation and resilient meal ideas.
Tomatoes done right in a water bath canner
Tomatoes hover around the safety line for acidity, which is why modern guidelines require adding acid even to “acid-tasting” varieties. You can water-bath tomato products when you follow tested, acidified recipes.
- Tomatoes (Crushed or Whole, Acidified)
- Add bottled lemon juice or citric acid to each jar: typically 2 Tbsp bottled lemon juice per quart (1 Tbsp per pint), or the equivalent in citric acid per USDA guidelines. Process as directed for your style (whole, halved, crushed).
- Choose meaty tomatoes like Roma for less watery jars, and pack hot for best heat penetration.
- Tomato Sauce (Acidified)
- A simple, unthickened tomato sauce is ideal for water-bath canning—just remember to acidify as above. Avoid adding oil, dairy, or thickeners. If you want herbs, keep amounts modest and follow a tested recipe.
- Tomato Salsa (Tested Recipe)
- Salsa safety depends on the vinegar/lime juice ratio, vegetable types, and cut size. Use a tested recipe to keep acidity where it needs to be. Do not reduce vinegar or bottled lemon/lime juice. If you want thicker salsa, drain tomatoes before cooking rather than adding thickeners.
- Prefer pressure canning for corn or beans in salsa? That’s a different category—stick to high-acid salsa formulas for water-bath processing.
Altitude adjustments and timing references for tomato products are spelled out clearly in the USDA Complete Guide to Home Canning. If you’re new to altitude changes, bookmark this: [Altitude adjustments for canning](INTERNAL LINK PLACEHOLDER).
Crisp and craveable cucumber pickles
Pickles are where water-bath canning shines. Crispness depends on fresh, small cucumbers, right salt, the correct vinegar strength (5% acidity), and processing time.
- Dill Pickles
- Classic spears or chips with dill, garlic, and peppercorns. Use pickling salt (no anti-caking agents) to prevent cloudy brine. For firmer texture, try a brief low-temperature pasteurization method if your tested recipe provides it, or use Ball’s Pickle Crisp (calcium chloride) per directions.
- Bread-and-Butter Pickles
- Sweet-tangy chips flavored with onion, mustard seed, and turmeric. Soak cucumbers in a light salt solution if your recipe calls for it—this draws out water for crunch. Pack hot to minimize floating.
Pickling pointers you’ll rely on
- Never dilute vinegar below the tested strength. Most recipes specify 5% distilled white vinegar or apple cider vinegar. Flavored vinegars vary in acidity; use only if a tested recipe allows.
- Keep slices uniform for even heating. Leave appropriate headspace to prevent siphoning (liquid loss) after processing.
- Avoid over-processing; more heat can soften texture.
For science-backed crispness tips, many extension services (such as Penn State Extension) explain salt choice, cucumber freshness, and firming agents. When in doubt, follow your tested recipe exactly; it’s the best route to happy crunch.
More pickled vegetables that love the water bath
Plenty of other vegetables can be safely water-bath canned—when they’re pickled with sufficient vinegar. These three staples offer color, nutrition, and versatility.
- Pickled Beets
- Earthy-sweet and gorgeous on salads. Cook beets until just tender, peel, slice or cube, then pour hot spiced vinegar brine over them in jars. Cinnamon sticks, cloves, and allspice are classic, but stick to tested spice amounts.
- Pickled Carrots
- Bright and crunchy. Briefly blanch sticks or coins, then pack with a hot vinegar brine. Add dill, garlic, or ginger for variety. Keep jar headspace accurate for strong seals.
- Pickled Jalapeños
- Slice uniformly for nachos and tacos, or pickle whole with slits. Heating softens heat slightly and mellows flavor. Wear gloves, and always preserve the vinegar ratio.
For all pickled vegetables, the rule is simple: the vinegar-to-water ratio must meet the tested standard. It ensures acidity stays safely below pH 4.6. If you’re curious about salt types, brine clarity, and spacing, you’ll find excellent technique primers via university extensions and Ball Canning.
A smooth canning workflow for reliable results
You don’t need a huge kitchen or fancy tools—just a repeatable process. Here’s a practical, low-stress workflow to make your next canning day smooth, whether you’re doing a small batch of peaches or lining up a salsa-and-pickle marathon.
Set up your station
- Clean and declutter countertop space; lay down towels to protect jars.
- Bring your canner to a simmer while you prepare produce. Keep jars hot in the canner or a 180°F oven.
- Mix brines, sauces, or jam bases before you start filling jars.
Prepare and pack
- Work in small batches to keep food hot. Hot pack generally yields better quality and reduces floating fruit.
- Funnel and fill jars, remove bubbles, and measure headspace with a simple tool. Wipe rims with vinegar to remove grease or sugar crystals.
Process and cool
- Ensure at least 1 inch of water over jar tops. Start timing once you reach a steady, gentle boil.
- After processing, let jars rest 5 minutes in the canner with heat off; this helps reduce siphoning. Lift with a jar lifter and cool undisturbed on towels 12–24 hours.
Check and store
- Verify seals: lids should be concave and not flex when pressed. Remove bands, wipe jars, label with product and date, and store in a cool, dark place.
- Most water-bath items maintain best quality in 12–18 months. Discard if you see signs of spoilage or if a seal fails.
Troubleshooting
- Floating fruit? Use hot pack and pack fruit more tightly.
- Cloudy brine? Pickling salt prevents haze; hard water can also cloud—wipe rims with vinegar and consider filtered water.
- Soft pickles? Use very fresh cucumbers, measure salt precisely, and avoid over-processing.
For a deeper dive on jars, lids, and maintenance, see [How to sterilize canning jars the right way](INTERNAL LINK PLACEHOLDER) and [Beginner’s guide to canning tools](INTERNAL LINK PLACEHOLDER).
Build a resilient pantry with safe, tested methods
Preserving now is about convenience—and confidence later. If you live where storms or grid issues can interrupt supplies, a well-planned pantry and clean water access make all the difference.
- Long-term pantry inspiration: For time-tested, low-tech food strategies, skim The Lost SuperFoods. It’s a practical complement to canning, dehydrating, and other shelf-stable methods.
- Urban readiness: If you’re in a small space or city setting, URBAN Survival Code focuses on adaptable, compact strategies that pair well with small-batch canning.
- Water confidence: Store and rotate clean water for cooking and canning days. The stackable, space-savvy SmartWaterBox helps keep a reliable reserve. For on-demand filtration, consider a gravity-fed system like Aqua Tower to improve taste and peace of mind.
Recommended gear and resources
- Aqua Tower: Gravity-fed water filtration for better-tasting water and added redundancy.
- SmartWaterBox: Compact, modular water storage to simplify rotation and emergency readiness.
- The Lost SuperFoods: Pantry-building insights for tough times and efficient kitchens.
- Home Doctor: Practical home-health guidance that pairs well with preparedness planning.
Keep your canning safety knowledge current with trusted references like the National Center for Home Food Preservation and the USDA. When you follow their tested procedures, water-bath canning delivers consistent flavor and safe results—season after season.
Conclusion: Your easy list of 21 water-bath winners
When you stick to high-acid choices and tested recipes, water-bath canning is both approachable and rewarding. The 21 foods you can preserve in a water bath canner (so easy!)—from strawberries, peaches, and applesauce to acidified tomatoes and a rainbow of pickles—give you a robust pantry that’s ready for weekday dinners, impromptu guests, and unexpected outages. Start with the fruits you love most, add a couple of pickles, and you’ll be on your way to a beautiful, useful shelf of home-canned goods.
References and further reading
- National Center for Home Food Preservation (University of Georgia): https://nchfp.uga.edu/
- USDA Complete Guide to Home Canning: https://nchfp.uga.edu/publications/publications_usda.html
- Ball Canning, Tested Recipes and Pectin Guides: https://www.ballmasonjars.com/canning-preserving-101.html
- Penn State Extension, Home Food Preservation: https://extension.psu.edu/food/preservation
FAQ
How do I know if a food is safe for water-bath canning?
- Use only high-acid foods (pH ≤ 4.6) such as fruits, fruit spreads, acidified tomato products, and pickled vegetables. When in doubt, check the National Center for Home Food Preservation or USDA.
Do I have to acidify tomatoes?
- Yes. Modern guidance requires adding bottled lemon juice or citric acid to every jar of tomatoes, sauce, and most tomato products processed in a water bath canner.
Can I thicken salsa or sauce with flour or cornstarch before canning?
- No. Starch changes heat penetration and can create safety issues. For thicker salsa, drain tomatoes before cooking or simmer to reduce. Use ClearJel only where a tested recipe specifies it (often for pie fillings, not the items listed here).
What jar headspace should I use?
- It depends on the recipe: typically 1/4 inch for jams/jellies, 1/2 inch for fruits and pickles, and 1/2 inch for many tomato products. Always follow the headspace in your tested recipe.
How long will home-canned foods last?
- For best quality, use within 12–18 months. Store in a cool, dark place. Discard if the seal fails, you notice off-odors, spurting liquid, mold, or other spoilage signs.
What are 21 foods you can preserve in a water bath canner?
- The list in this guide includes: strawberries; blueberries; raspberries/blackberries; peaches; applesauce; pears; cherries; grapes (juice/jelly); pineapple; orange marmalade; apricots; apple butter; sweet relish; acidified tomatoes; acidified tomato sauce; tested tomato salsa; dill pickles; bread-and-butter pickles; pickled beets; pickled carrots; and pickled jalapeños.
Do I need to sterilize jars before canning?
- If you process filled jars for 10 minutes or more, pre-sterilizing jars isn’t required (though they must be clean and hot). For shorter processing times, sterilize jars or choose a recipe with a 10+ minute process. Check your tested recipe.
Is water quality important for canning?
- Yes. Hard water can cause deposits on jars; minerals can cloud brines. Use filtered water if needed. For dependable water on canning days, a storage system like SmartWaterBox can be helpful.