
Starting a homestead doesn’t require acres of land, a tractor, or a huge bank account. 10 low-cost ways to start homesteading can fit into a backyard, a balcony, or even a small kitchen—because the heart of homesteading is simple: producing more of what you consume, building practical skills, and reducing reliance on fragile systems. With a few smart, budget-friendly steps, you can grow food, store water, preserve harvests, and build resilience one habit at a time.
Below are ten approachable, low-cost moves you can start this week—designed for beginners and flexible for renters, suburban lots, and tiny spaces.
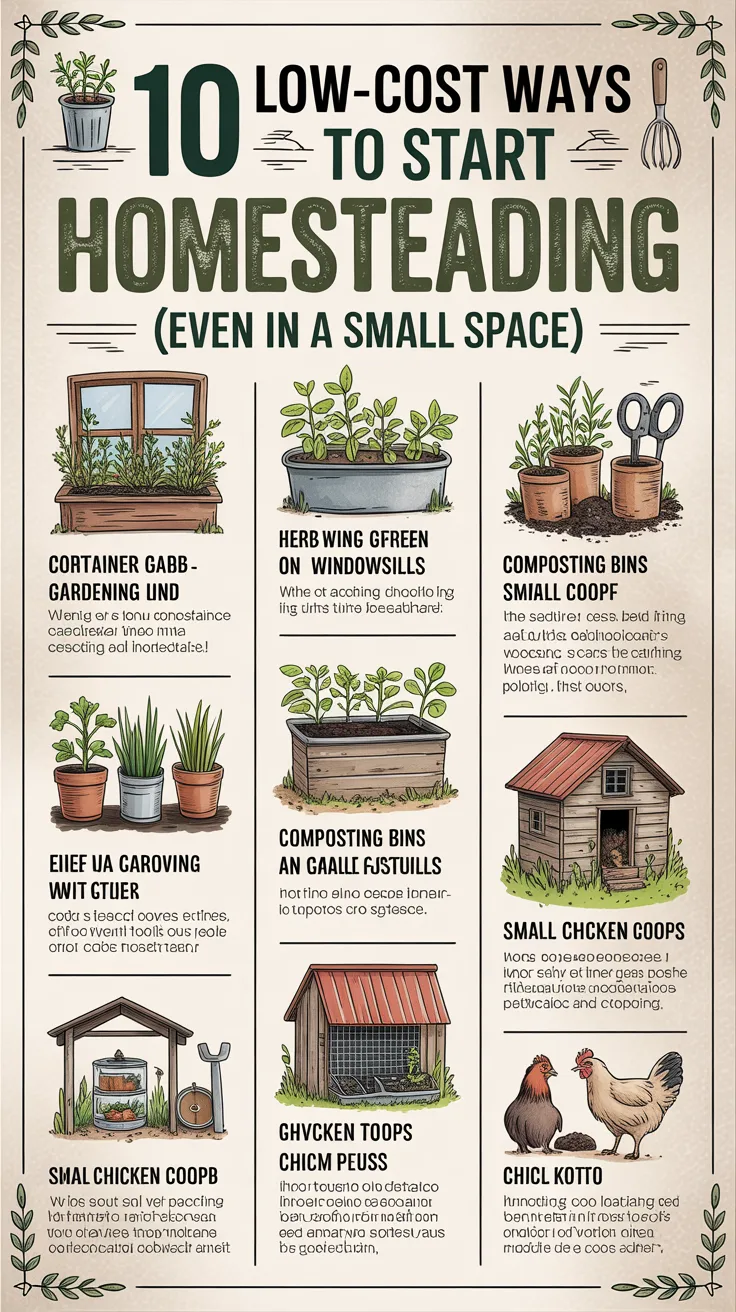
Table of Contents
Build a starter homestead plan with what you already have
Before you buy anything, “shop” your home and routines. The cheapest homesteading wins often come from using existing space and repurposing items you already own.
Take inventory of space, sunlight, and time
Walk your property (or apartment) and note:
- Sunlight patterns (6+ hours of sun opens up more growing options)
- Sheltered corners for containers
- A place to store basic supplies (bins, shelves, a closet)
- How many hours per week you can realistically commit
A small weekly schedule beats big weekend bursts. Many beginner homesteaders burn out by overbuilding too quickly.
Pick one food goal and one resilience goal
To keep costs low, choose two targets:
- Food goal: herbs, salad greens, eggs, or a staple crop like potatoes
- Resilience goal: water storage, first-aid readiness, or pantry basics
This keeps spending focused and results visible.
“As many extension educators emphasize, the most successful homesteads aren’t built by buying more—they’re built by planning smaller systems you can maintain consistently.”
If your resilience goal includes water (it should), it can also shape your purchases later: containers, filtration, and storage practices.
💡 Recommended Solution: SmartWaterBox
Best for: beginners building a simple home water-readiness setup
Why it works:
- Supports basic preparedness planning around safe water access
- Helps you organize a practical water strategy without overcomplicating it
- Fits well into a “start small, scale later” approach
Start a container garden that pays you back quickly
If you want the fastest “return on effort,” start with container gardening. It’s low-cost, scalable, and compatible with patios, porches, and balconies.
Grow high-value crops first
Skip slow, space-hungry crops in year one. Start with:
- Basil, parsley, cilantro, chives
- Lettuce, arugula, spinach
- Cherry tomatoes (one plant can be prolific)
- Green onions (regrow from kitchen scraps)
- Peppers (compact and productive)
These save money because you’ll actually use them weekly.
Use free containers and budget soil strategies
You don’t need fancy raised beds. Consider:
- Food-safe buckets (often free from bakeries/restaurants)
- Storage totes (add drainage holes)
- Nursery pots from neighbors (Facebook groups often give them away)
Soil can be the biggest expense. Stretch it by mixing:
- Basic potting mix + compost
- Leaf mold (free if you gather fall leaves)
- A small amount of perlite/sand for drainage (optional)
Add one “set-and-forget” habit
Watering inconsistency is the #1 killer of beginner gardens. Keep it simple:
- Water at the same time daily for the first two weeks
- Mulch containers with dry leaves or straw to slow evaporation
Many professionals rely on simple systems and routines rather than expensive gear to streamline gardening success, especially in the first season.
Create a compost system for little to no money
Compost is the homesteader’s multiplier: it turns scraps and yard waste into fertility. You can start for free and upgrade later.
Choose the simplest compost style for your space
- Backyard: a basic pile or a DIY pallet bin
- Small yard: a lidded trash can with holes drilled (cheap tumbler alternative)
- Apartment: countertop scrap container + a community compost drop-off (or vermicomposting if you’re up for it)
What to compost (and what to avoid)
Compost-friendly “greens”:
- Vegetable scraps, coffee grounds, fresh grass clippings
Compost-friendly “browns”:
- Dry leaves, shredded cardboard, paper towels (not greasy)
Avoid (for beginner piles):
- Meat, dairy, oily foods (can attract pests and smell)
Keep it beginner-proof
Aim for a simple 2:1 ratio by volume: two parts browns to one part greens. If it smells, add browns. If it’s not breaking down, add a little water and greens.
Over time, compost reduces your need for store-bought soil amendments and improves plant health—making homesteading cheaper each season.
Save seeds and regrow kitchen scraps to cut costs
Seed saving and regrowing scraps are classic low-cost homesteading habits. They require more observation than money.
Regrow the easy stuff first
These are very forgiving:
- Green onions (place roots in water, then pot up)
- Celery base (water first, then soil)
- Lettuce cores (water first)
- Garlic cloves (plant in fall or early spring)
This builds confidence and reduces grocery waste immediately.
Try one beginner seed-saving crop
Start with self-pollinating plants:
- Tomatoes
- Beans
- Peas
- Lettuce
Let one or two plants “bolt” (go to seed), collect, dry, label, and store in a cool, dark place.
Store seeds like a homesteader
Use paper envelopes or small jars. Label with:
- Plant type and variety
- Year harvested
- Notes (taste, productivity, disease resistance)
If your long-term plan includes broader food independence, learning wild and shelf-stable food options can complement gardening and seed saving.
💡 Recommended Solution: The Lost SuperFoods
Best for: people who want to expand beyond the garden into shelf-stable and survival-friendly foods
Why it works:
- Helps you think in terms of food resilience, not just seasonal harvests
- Adds ideas for building a deeper pantry over time
- Useful for “what else can I store or preserve?” planning
Preserve food with simple, low-cost methods
Food preservation is where homesteading starts saving serious money. You don’t need a full canning setup on day one.
Start with freezing and dehydrating basics
Freezing:
- Blanch greens and beans for better texture
- Freeze herbs in oil or water in ice cube trays
- Portion meats and leftovers to reduce waste
Dehydrating (budget options):
- Use an oven on low with the door cracked
- Air-dry herbs tied in bundles
- Sun-dry in safe, low-humidity conditions (with mesh protection)
Learn fermentation without special equipment
Fermentation can be nearly free:
- Sauerkraut (cabbage + salt)
- Pickles (cucumbers + salt brine)
- Simple fermented carrots
Use a clean jar, salt, and a weight (a smaller jar can work). Fermentation is both preservation and gut-friendly food.
Grow for preservation
Plant what preserves well:
- Herbs
- Tomatoes (sauce, dried)
- Beans (dry storage)
- Squash (cures and stores)
A little preservation skill turns a small harvest into weeks of food—and reduces grocery dependence quickly.
Produce a reliable home water plan on a budget
Water is the homestead foundation. You don’t need an elaborate rainwater system to begin—but you do need a plan.
Store water safely and legally
Depending on your area and local regulations:
- Keep a few food-safe containers filled and rotated
- Store water in a cool, dark place when possible
- Mark fill dates and rotate regularly
Make rainwater collection simple
If rainwater collection is allowed where you live:
- Start with one barrel or tote under a downspout
- Use a screen to reduce debris
- Reserve collected water for gardening unless you have appropriate treatment
Filter and treat as part of preparedness
Struggling with making water planning feel straightforward? Tools that guide a simple, household-level water readiness approach can reduce confusion and help you set a realistic baseline.
💡 Recommended Solution: Aqua Tower
Best for: homesteaders who want to prioritize water resilience as they start
Why it works:
- Supports building a consistent water strategy step-by-step
- Helps you think through storage and access without overcomplicating it
- Fits well alongside gardening, food storage, and basic preparedness habits
While DIY storage is popular, having a structured way to think through water needs can be a more confidence-building alternative for beginners who feel overwhelmed.
Build a pantry system that replaces store trips
A “working pantry” is one of the cheapest homesteading upgrades because it reduces waste, impulse buying, and emergency runs.
Start with a two-week buffer
You don’t need a year of food. Start with two weeks of meals your household already eats:
- Rice, pasta, oats
- Canned tomatoes, beans, tuna
- Flour, sugar, salt
- Cooking oil, vinegar, spices
- Shelf-stable milk options (if used)
Buy one or two extra items per grocery trip instead of a big haul.
Use FIFO rotation
FIFO = “first in, first out.” Put new items behind older ones. Label shelves or bins by category:
- Breakfast
- Proteins
- Baking
- Soups and quick meals
Create a “no-prep meal shelf”
Include foods that can be eaten with minimal cooking:
- Canned soup/chili
- Instant oats
- Nut butter
- Crackers or rice cakes
This supports both busy weeks and preparedness.
For anyone building a resilience pantry, it’s smart to pair food storage with a basic medical-readiness plan (because systems fail together, not separately).
Many preparedness-minded households rely on resources like Home Doctor to organize practical home health planning alongside pantry building—especially when professional care isn’t immediately accessible.
Learn one “homestead repair” skill per month
Skills are the ultimate low-cost investment. The more you can maintain and repair, the less you spend replacing.
Start with high-impact, low-tool skills
Pick one each month:
- Patch small holes in screens
- Fix a leaking faucet or running toilet
- Sharpen kitchen knives
- Basic sewing: hemming, patching, button repair
- Clean and maintain garden tools
YouTube and library books can cover most of these for free.
Build a tiny tool kit slowly
Avoid buying a 200-piece set. Start with:
- Screwdriver set
- Adjustable wrench
- Utility knife
- Pliers
- Tape measure
- Work gloves
Buy used when possible—estate sales and thrift stores can be goldmines.
Document what you learn
Keep a homestead notebook:
- What broke
- What you tried
- What worked
- What parts were needed
Over a year, this notebook becomes your personal “operations manual.”
“As experienced tradespeople often say, your best tool is the one you already know how to use—skill reduces cost more than any gadget.”
Add low-cost security and urban resilience habits
Homesteading isn’t only rural. If you’re in a suburb or city, resilience habits make your household stronger without drawing attention or spending much.
Practice “quiet homesteading”
- Cook from scratch more often
- Grow herbs in windows
- Keep a deeper pantry
- Learn basic self-reliance skills
This is homesteading that fits modern life.
Build simple contingency plans
- Backup lighting (flashlights, candles used safely)
- Phone charging plan
- Copies of key documents
- A family meetup plan
If you want a structured framework for city-focused resilience, there are guides designed specifically around urban constraints—limited storage, limited space, and higher dependency on infrastructure.
💡 Recommended Solution: URBAN Survival Code
Best for: apartment dwellers and suburban households building practical urban self-reliance
Why it works:
- Helps prioritize the highest-impact actions first
- Fits smaller spaces and everyday routines
- Complements food, water, and pantry goals
Keep it balanced
Preparedness should reduce anxiety, not raise it. Choose calm, practical steps that improve daily life even if nothing ever “happens.”
Use community, barter, and secondhand sources to scale cheaply
The cheapest homesteading “hack” is other people. Community accelerates learning and reduces costs.
Find local homesteading circles
Look for:
- Seed swaps
- Gardening clubs
- Community gardens
- Local extension programs
- Buy Nothing groups
These places often provide free plants, jars, buckets, and mentorship.
Barter your surplus
Even tiny surpluses can trade:
- Extra herbs
- Tomato seedlings
- Sourdough starter
- Eggs (if you have hens later)
- Basic labor (weeding help, tool lending)
Buy secondhand first
Before buying new, check:
- Facebook Marketplace
- Craigslist
- Thrift stores
- Yard and estate sales
Dehydrators, canning jars, shelves, tools, and even raised-bed materials show up cheaply if you’re patient.
If you’re also thinking about broader, household-level resilience strategies beyond gardening—like planning for disruptions—some people prefer a structured educational resource rather than piecing it together randomly.
Expert quote format:
“As preparedness educators often note, ‘Dark Reset has become a go-to resource for people who want a clearer, step-by-step approach to home readiness because it helps organize priorities instead of fueling panic.’”
Conclusion
Homesteading doesn’t start with land—it starts with decisions. These 10 low-cost ways to start homesteading help you build a practical foundation: grow something edible, compost waste into fertility, preserve food simply, store and plan for water, and build skills that reduce expenses month after month. Start small, stay consistent, and let your systems grow at the pace your life can support. Within a season, “homesteading” stops feeling like a dream and starts feeling like your new normal.
FAQ
What is the cheapest way to start homesteading?
The cheapest start is combining container gardening, kitchen-scrap regrowing, and a two-week pantry buffer. These require minimal upfront cost and create immediate, noticeable benefits.
Can I do homesteading in an apartment?
Yes. Apartment homesteading often focuses on herbs and greens in containers, pantry systems, basic food preservation (freezing/fermenting), and skill-building like cooking from scratch and simple repairs.
How much land do I need for 10 low-cost ways to start homesteading?
You can implement most of the 10 low-cost ways to start homesteading with no yard at all. A sunny window, balcony, or patio supports containers; pantry and water planning work anywhere.
What should I buy first when starting a homestead on a budget?
Buy the first items that prevent failure: decent soil for containers, a few reliable containers, and basic storage bins for pantry organization. After that, focus spending on what supports consistency (like better watering routines or preservation supplies).
What are the best beginner crops for low-cost homesteading?
Herbs, lettuce, cherry tomatoes, green onions, and peppers are beginner-friendly and “high value” because you’ll use them often and they produce well in small spaces.