
Collecting rain is smart; protecting it is smarter. If you rely on captured precipitation for everyday use or emergencies, there are powerful reasons why you should bury your rainwater supply. A buried cistern shields water from temperature swings, sunlight, pests, wildfire embers, vandalism, and storm damage—all while improving taste and clarity when paired with good filtration. Beyond resilience, going underground also preserves curb appeal and frees up valuable yard space.
If you’re building or upgrading a system and want a compact, off‑grid water backup that pairs well with a buried cistern, explore SmartWaterBox.
Table of Contents
The case for a buried rainwater supply
Above‑ground tanks are quick to install, but they live in a harsh environment: blazing sun, freezing nights, wind, debris, curious wildlife, and the occasional accidental bump from equipment. Over time, those exposures translate into UV degradation, algae blooms, cracked fittings, and heat‑stressed water that tastes “plasticky.” In contrast, a buried tank turns soil into your armor. Earth acts as a stable, protective shell—quiet, cool, dark, and out of sight.
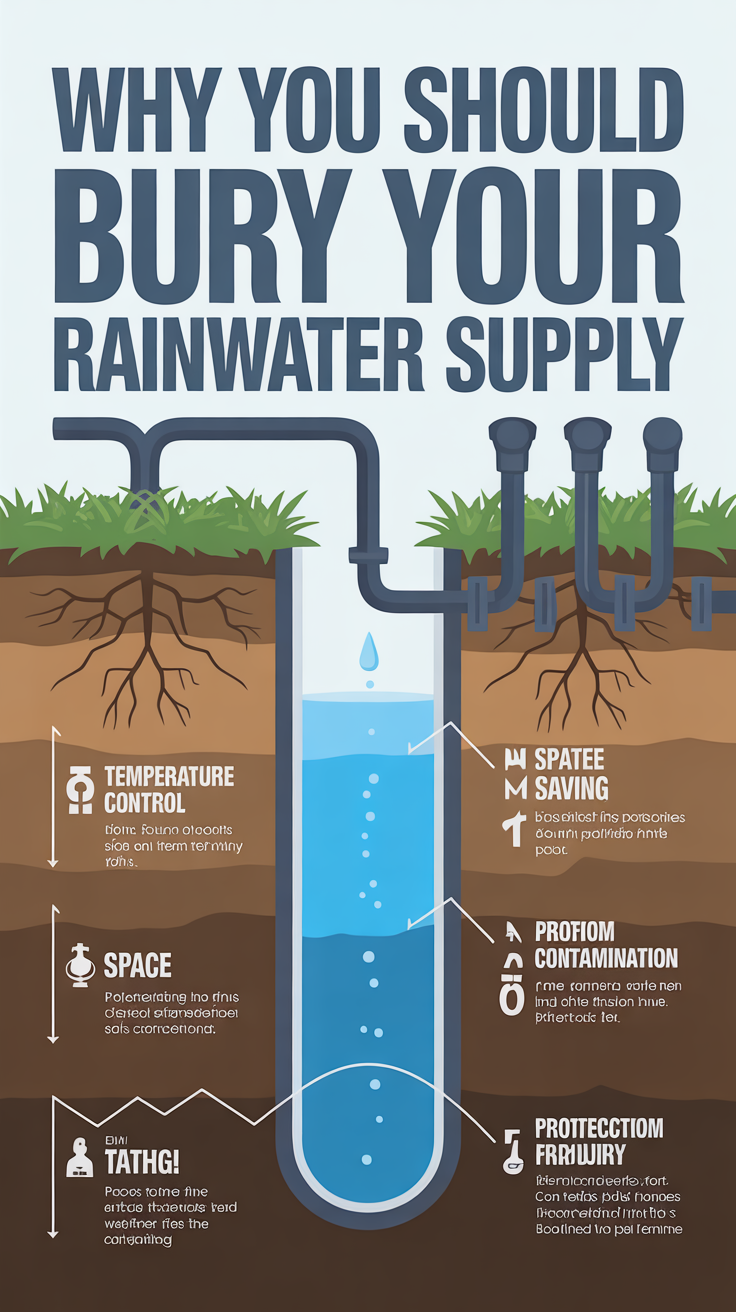
Key advantages of moving your rainwater underground:
- Thermal stability: Below-grade temperatures are far more consistent, keeping water cool in summer and less prone to freezing in winter. Stable temperatures slow microbial growth and help preserve taste.
- Light exclusion: With darkness, algae can’t photosynthesize. This is one of the simplest ways to maintain cleaner water with fewer odors.
- Fire and disaster protection: Subsurface tanks don’t melt in wildfires, won’t blow over in storms, and are much less susceptible to wind‑borne debris.
- Security: Out of sight is out of mind. Buried water is less likely to be tampered with, vandalized, or stolen. It’s also quieter—pumps and inflows aren’t obvious.
- Space and aesthetics: Yards, driveways, and gardens remain uncluttered. This can make permits, HOA approvals, or neighbor relations smoother.
- Longevity: Shielded from UV exposure and temperature extremes, most tanks, gaskets, and fittings last longer, with fewer maintenance hassles.
Together, these benefits explain why many off‑grid homes, farms, and even municipal sites choose underground cisterns for potable and non‑potable use. The result is a safer, more dependable water reserve you can count on in both blue‑sky days and black‑swan events.
Water quality benefits when you bury your rainwater supply
Water quality is a system, not a single component. When you bury your rainwater supply, you create multiple layers of passive protection that make every downstream filter and purifier more effective.
- Cooler, darker storage: The soil’s thermal mass keeps water in a narrower temperature band, typically much cooler than surface conditions. Cooler water inhibits bacterial metabolism and biofilm expansion. Complete darkness prevents algae growth, reducing taste and odor issues.
- Reduced plastic volatility: Above‑ground poly tanks absorb heat and radiate it into the water. Heat accelerates leaching and can degrade gaskets. Underground storage dramatically reduces heat cycling.
- Quieter hydraulics: Buried tanks experience fewer pressure spikes from direct sun or wind‑driven temperature changes, helping fittings and seals last longer.
- Sedimentation and polishing: With proper inlet design (diffusers or drop pipes), suspended solids settle into a calm zone at the tank bottom. Combined with a floating suction pickup, you draw cleaner water from the “sweet spot” below the surface, above the sediment layer.
- Pest exclusion: Sealed, gasketed access risers and screened vents keep out mosquitoes, rodents, and debris that often sneak into above‑ground lids.
- Contamination control: Properly plumbed backflow prevention and an airtight riser reduce opportunities for airborne contaminants to enter. Dust, ash, and pollen that land on tank tops are no longer a major risk.
Pre‑filtration compounds the benefits:
- Leaf screens at the gutters remove coarse debris.
- First‑flush diverters capture the contaminated “roof rinse” that carries dust, bird droppings, and pollen during the first minutes of a rainfall.
- Vortex or basket filters at the downpipe strain fine matter before it ever reaches the tank.
For potable uses, storage quality must be paired with treatment. A robust train often includes a sediment cartridge (e.g., 5–20 micron), activated carbon, and a final disinfection step (UV unit or properly managed chlorination). The cleaner the water going into that treatment chain, the longer filters last and the better the taste.
Safety, security, and resilience from a buried rainwater supply
Reliability is about more than purity; it’s about whether water is available when systems are stressed. A buried cistern shines when conditions are worst.
- Freeze resistance: Below the frost line, water is protected from surface freezes. Where winters are severe, adding rigid foam insulation above the tank, insulating risers, and burying lines below frost depth help maintain flow. Heat cable can be added to vulnerable sections.
- Fire and ember resistance: In wildfire zones, embers melt plastic lids and fittings on exposed tanks. Underground, your water remains available for suppression and post‑fire cleanup. Noncombustible riser lids and metal vents strengthen the system further.
- Wind and impact resistance: Fasteners loosen and tanks topple under strong winds or impacts from falling limbs. Soil coverage anchors the tank and shields it from direct hits.
- Security through obscurity: In urban or rural settings, buried tanks are less likely to be discovered or targeted. Quiet operation, muted pump noise, and discreet access all reduce attention.
- Reduced contamination opportunities: Covered risers with gaskets and mosquito‑proof vent screens reduce accidental or intentional contamination.
- Buoyancy control in high water tables: With correct anchoring and ballast, buried tanks resist floating during floods—a risk that above‑ground tanks cannot mitigate once water rises.
Backup delivery paths are crucial. Consider these resilience add‑ons:
- Gravity or manual options: A dedicated gravity feed line for irrigation or a manual pump port provides water even if power fails. For off‑grid redundancy, review resources like Water Freedom System for water‑readiness planning that complements buried systems.
- Redundant pumping: Two small pumps rather than one large pump, plus isolation valves and unions, simplify swap‑outs.
- Protected power: A small solar array with a battery, or a generator interconnect, can keep pumps and UV disinfection online during outages. A low‑power purifier or compact backup solution such as SmartWaterBox pairs well with stored rain for emergency use.
- Fire standpipe or hose bib: A dedicated outlet with an appropriate nozzle can support spot suppression or mop‑up, giving you actionable water when the municipal supply is compromised.
With a bit of forethought—placing valves in vaults, protecting risers, and adding alternate fetching methods—you transform a buried tank from “storage” into a dependable water service during disruptions.
Planning and sizing a buried system that fits your home
A reliable underground cistern starts on paper. Size, placement, and compatibility with your site conditions determine long‑term success.
- Calculate collection and demand
- Roof catchment: Multiply roof area (square feet) by local annual rainfall (inches) by 0.623 to estimate gallons per year. Account for collection efficiency (typically 75–90% after losses).
- Demand profile: Drinking/cooking needs, toilet flushing, laundry, irrigation, and contingency for outages. Make a weekly or monthly water budget to align storage with realistic use.
- Storage strategy: Many households target 2–8 weeks of core demand. In dry climates or off‑grid properties, aim for seasonal storage if possible.
- Match the tank to your site
- Tank types: Polyethylene, fiberglass, and concrete are common underground cistern materials. Ensure the model is rated for burial, not just “inground placement.”
- Soil and water table: Conduct a percolation observation or consult site data. High water tables require anti‑float measures (deadman anchors, concrete pads, or ballasting).
- Frost line and cover depth: Bury below frost depth where possible. Manufacturer specs list minimum soil cover and loading requirements.
- Vehicle loading: If placing under a driveway, choose a tank rated for live loads and follow engineering guidance for cover depth and slab design.
- Plumbing and layout essentials
- Downpipes and pre‑filters: Plan leaf screens, first‑flush diverters, and filter locations where you can service them easily.
- Inlet design: Diffuse inflow to minimize disturbance; avoid splashing that re‑suspends sediment.
- Outlet strategy: Use a floating suction filter to draw from the cleanest layer; add check valves and unions for serviceability.
- Overflow: Direct overflow to a safe infiltration area or storm drain; include a screen to keep wildlife out.
- Venting: Install a screened vent to equalize pressure during filling and pumping without inviting insects or debris.
- Backflow prevention: Protect the municipal system and your potable lines with code‑compliant devices.
Permits and codes vary. Contact your local building department to confirm setbacks, cross‑connection rules, and whether post‑treatment is required for indoor uses. With a clear plan, you’ll avoid costly rework during excavation.
Installation essentials for a long‑lasting buried cistern
Execution matters. Proper excavation, bedding, and backfill can double the life of your system and prevent expensive failures.
Site prep and excavation
- Mark utilities: Call before you dig. Confirm gas, electric, telecom, water, and sewer locations.
- Manage stormwater: Grade the site to shed surface water away from the excavation. In wet soils, create a temporary sump and dewatering plan.
- Safe slopes: Maintain stable trench/excavation walls. Observe confined space and trench safety practices.
Foundation and bedding
- Base layer: Use compacted sand, pea gravel, or crushed stone per manufacturer specs. A stable, level base distributes weight evenly and protects the tank from point loads.
- Geotextile: In some soils, a fabric layer separates native soil from bedding to prevent mixing and settling.
Placement and anchoring
- Set the tank level. Use straps or deadman anchors where buoyancy is a risk. Follow manufacturer torque specs for fittings.
- Anti‑float measures: If groundwater may rise, a reinforced concrete pad and strap system can counter uplift forces.
Backfill and compaction
- Use specified material (often sand or fine granular backfill), free of sharp rock. Place in lifts and compact uniformly to avoid deformation.
- Protect risers and fittings during backfill. Install a protective sleeve or box around sensitive areas.
Inlets, outlets, and appurtenances
- Inlet diffuser: A tee or drop pipe reduces turbulence.
- Floating pickup: A screened float assembly draws from the clearest layer.
- Isolation valves: Place accessible valves near the tank and at the point of use.
- Access risers: Watertight, gasketed risers and a lockable, non‑corroding lid protect your supply while enabling inspection.
- Vent: A screened vent sized for expected inflows avoids pressure buildup and keeps insects out.
Final grading and protection
- Shed water away from risers with a shallow berm.
- Insulate risers in cold climates.
- Label buried utilities and keep an as‑built diagram for future repairs.
Commissioning and testing
- Rinse, then fill the tank partially, check for leaks, then complete the fill.
- Flush lines and test pumps, pressure switches, and treatment devices.
- Shock sanitation: If potable, perform a startup sanitation following accepted guidelines before first use.
Meticulous installation pays dividends—fewer leaks, cleaner water, and a system that remains dependable for decades.
Maintenance that keeps your buried rain supply trustworthy
Buried does not mean “forget it.” The best systems follow a light but regular maintenance cycle that prevents small issues from growing into big ones.
Routine inspection cadence
- Quarterly: Inspect gutters, leaf screens, and first‑flush devices; remove debris and verify seals. Check vent screens and lid gaskets. Observe overflow path for erosion.
- Semiannual: Open the access riser on a dry day. Inspect water clarity, sediment levels, and fittings. Exercise isolation valves. Test pump run times and pressure switch cut‑in/cut‑out. Replace sediment/carbon cartridges if used.
- Annual: Sanitize storage if used for potable supply, following accepted procedures. Confirm backflow prevention device function. Review the as‑built diagram and ensure markers remain visible.
Monitoring and instrumentation
- Level indicator: A simple float gauge or electronic sensor prevents outages and helps you plan usage.
- Turbidity check: A handheld turbidity tube or in‑line sensor helps catch sediment issues early.
- Leak detection: Watch for unexpected pump cycling or damp soil near lines.
- Test points: Sample ports upstream/downstream of filters simplify water quality checks.
Cold‑weather care
- Insulate exposed sections and risers. Use heat cable on vulnerable runs if needed.
- Drain or bypass irrigation lines ahead of freeze.
Backup readiness
- Keep spare cartridges, a spare pump or pump rebuild kit, gaskets, unions, and disinfectant on hand.
- Have an alternate extraction method available. For manual water access during outages, review an off‑grid water resource like Survival Water Box that can complement a buried cistern strategy.
Household integration
- Indoor use: For potable household use, ensure treatment is maintained and validated. Keep a log of filter changes and sanitation dates.
- Non‑potable circuits: Label irrigation and toilet lines to avoid cross‑connection. Use separate color or tag standards per local code.
A few minutes each month prevents surprises. By combining simple checks with spare parts and a backup extraction plan, your buried storage stays reliable year‑round.
Budget, pitfalls, and smart alternatives to consider
Every property is different. A buried system can be cost‑effective, but it pays to avoid common mistakes and to consider options that still capture the core benefits.
Cost drivers to watch
- Excavation complexity: Rock, roots, or limited machine access raise labor costs.
- Groundwater management: Anti‑float anchoring and dewatering may be necessary.
- Structural rating: Tanks rated for vehicle loads cost more but may unlock better placement (e.g., under a driveway).
- Treatment and pumping: Quality filtration, UV disinfection, and pressure systems add upfront cost but elevate reliability.
Common pitfalls
- Skipping pre‑filtration: Dirt in equals maintenance out. Invest in leaf screens and first‑flush diverters.
- Inadequate venting: Poor venting causes airlocks and vacuum issues during fast inflows or pumping.
- Undersizing: Too small a tank yo‑yos between full and empty, maximizing wear on pumps and reducing water security.
- No overflow plan: An unmanaged overflow can erode slopes or flood foundations. Direct it safely to infiltration or storm drains.
- Ignoring buoyancy: Tanks can float if groundwater rises—anchor where needed.
Smart alternatives and hybrids
- Semi‑buried or bermed tanks: Where full burial isn’t feasible, partial burial or earthen berms provide shading and temperature stability at lower cost.
- Insulated above‑ground tanks: In mild climates, heavy insulation and sun‑shading plus good pre‑filtration can mimic some benefits of burial.
- Modular storage: Multiple smaller tanks in parallel spread risk and simplify replacement.
- Distributed catchment: Capture from multiple roof sections into one cistern to increase fill reliability.
Mid‑project flexibility pays off. If site challenges emerge (shale, utilities, high water table), a hybrid approach—partial burial plus upgraded insulation and shading—can still achieve security, quality, and aesthetics without blowing the budget.
Recommended resources that pair with a buried rainwater supply
A buried cistern becomes a complete solution when you combine storage with reliable treatment and multiple access paths. Consider these supplemental resources to round out your plan:
- Smart, compact backup water solution: Pair your underground storage with an off‑grid, portable option that keeps drinking water flowing during power cuts or maintenance windows. Explore SmartWaterBox.
- Water‑readiness and storage planning: Organize your rain system, backup containers, and emergency protocols so everyone in the household knows the plan. See Water Freedom System for a water‑readiness resource that complements underground storage.
- Off‑grid water access backup: If you want a manual way to access water or integrate alternative sources during outages, review Survival Water Box as an additional preparedness resource.
- Whole‑house preparedness: While water is foundational, a resilient home also benefits from medical self‑reliance and shelf‑stable nutrition planning. For broader readiness, you may also find Home Doctor and The Lost SuperFoods useful complements to your water strategy.
Quick start actions:
- Sketch your roof catchment and calculate monthly yield.
- Decide which uses (irrigation, toilet, laundry, drinking) you want to support and size storage accordingly.
- Choose your pre‑filters and a treatment chain.
- Plan a backup extraction method and a portable, off‑grid purifier to pair with your buried reserve.
When your storage, treatment, and access paths are all in place, your buried system becomes a reliable, day‑to‑day asset—not just an emergency stash.
Conclusion
In short, there are compelling reasons why you should bury your rainwater supply. Underground storage keeps water cool, dark, and protected—reducing algae, deterring pests, and insulating against freeze, fire, and tampering. With good pre‑filtration, smart plumbing, and a simple maintenance routine, a buried cistern delivers cleaner water with fewer headaches. Add a backup, off‑grid access path and you’ll have a resilient, discreet, and long‑lived water system that serves you in everyday life and when the grid goes quiet.
FAQ
How deep should I bury a rainwater tank?
Follow manufacturer guidance for minimum soil cover and local frost depth. In cold regions, bury below the frost line where possible, and insulate risers. Tanks under driveways need adequate cover and rating for vehicle loads.
Do I still need filters if I bury my rainwater supply?
Yes. Burial improves storage conditions, but it doesn’t remove contaminants from roof runoff. Use leaf screens, first‑flush diverters, a sediment filter, carbon, and a disinfection step (UV or properly managed chlorination) if water will be used for drinking or cooking.
Will a buried tank float during floods?
It can if groundwater rises high enough and the tank isn’t anchored. Use anti‑float measures such as a concrete pad with straps or deadman anchors in areas with high water tables.
Can I connect a buried rainwater cistern to indoor plumbing?
Often yes, but check local codes. You’ll need proper backflow prevention and a treatment train suitable for potable water. Many jurisdictions allow non‑potable uses such as toilet flushing and laundry with clear labeling and separation from municipal lines.