
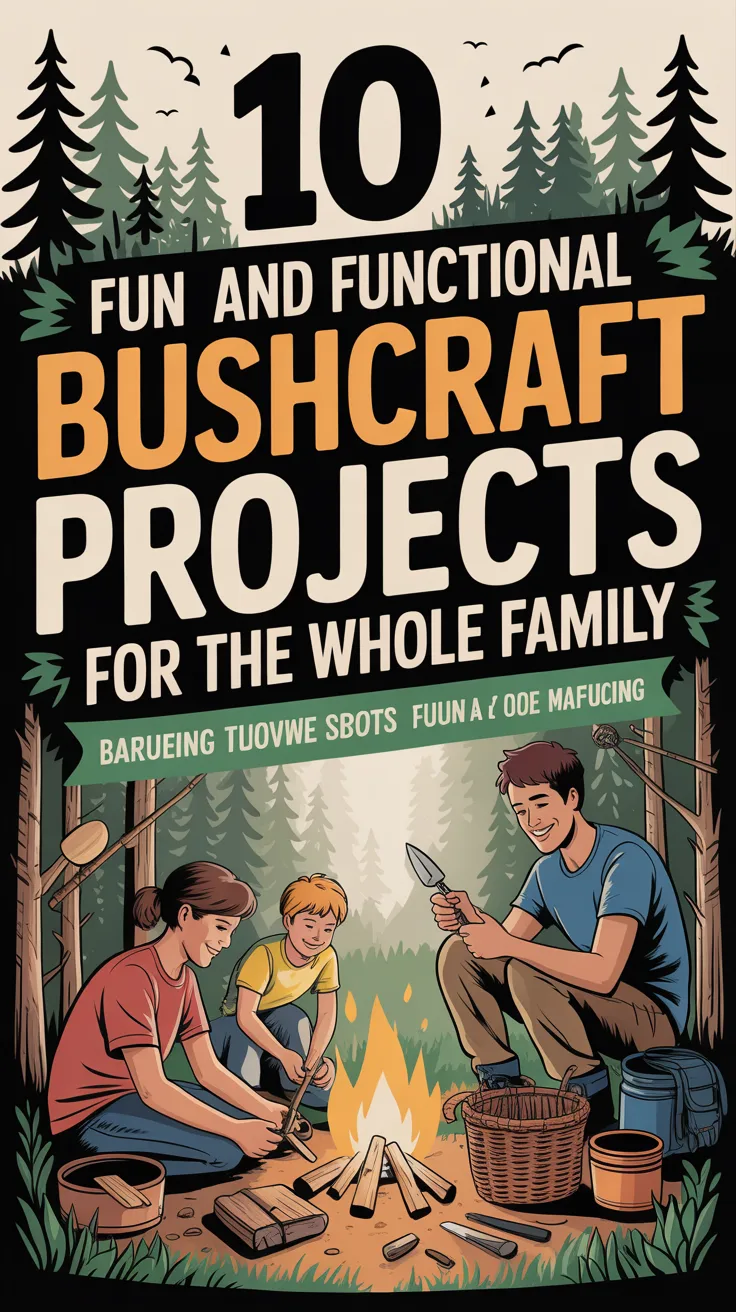
Spending time outdoors doesn’t have to mean “roughing it.” With the right mix of creativity and practical skills, 10 fun and functional bushcraft projects for the whole family can turn an ordinary afternoon in the woods into lasting memories—and real-world preparedness. The best part is that most of these projects are low-cost, skill-building, and adaptable for different ages, attention spans, and comfort levels.
Bushcraft is simply the art of living comfortably outside using knowledge, simple tools, and natural materials. For families, it’s also a powerful way to teach problem-solving, patience, and respect for nature. The projects below are designed to be hands-on and rewarding: you’ll make things you can actually use—water solutions, shelter improvements, fire helpers, kitchen tools, and camp comfort upgrades—without needing specialized gear.
Struggling with planning water storage for emergencies at home and on trips? SmartWaterBox addresses this by focusing your attention on water readiness so you’re not improvising under pressure.
Before you begin, set a few family ground rules:
- Use a buddy system for tool handling and collecting materials.
- Follow Leave No Trace principles—especially when harvesting branches, bark, or plants.
- Keep projects age-appropriate; adults handle blades and hot items.
- Make it fun: give everyone a role (collector, builder, tester, photographer, cleanup).
Table of Contents
Family safety and setup basics
A smooth day of family bushcraft starts with a quick “base camp” routine. Pick a level area away from dead branches (“widowmakers”), set down a ground cloth, and establish three zones:
Tool zone
Keep knives, saws, and cordage here—used only with adult supervision. Create a simple rule: seated carving only.
Fire and cooking zone
A safe distance from your shelter area. Mark a visible boundary with sticks.
Build zone
Where you weave, lash, stack, and assemble projects.
Many families also like having a simple home readiness reference for first aid and everyday health issues—especially when kids are involved.
💡 Recommended Solution: Home Doctor
Best for: families who want a practical home-health reference alongside outdoor learning
Why it works:
- Encourages calm, step-by-step decision-making
- Supports preparedness planning beyond the campsite
- Useful for building a family “skills binder” mindset
With that foundation, you’re ready to build.
Shelter upgrades that kids can help build
A shelter project is perfect for families because it’s visual, collaborative, and rewarding fast. Instead of attempting a complex survival shelter, focus on comfort upgrades you can build in an afternoon.
Project 1: Tarp tensioners from sticks (quick shelter upgrade)
Why it’s fun: Kids can “engineer” small parts that make a big difference.
Why it’s functional: Better tension keeps tarps quieter, drier, and more stable.
Materials
- 6–10 sturdy thumb-thick sticks (6–8 inches long)
- Tarp + cordage/paracord
- Optional: a small saw (adult use)
Steps
- Cut sticks to uniform length.
- Carve a shallow groove near each end (adult).
- Tie cord to the stick so it acts like a toggle/tensioner.
- Attach to tarp grommets or loops; adjust tension.
Family roles
- Kids: collect sticks, test tension, “quality control”
- Adults: cut grooves and manage knots
Skill gained: cord management, load distribution, basic rigging.
Project 2: Debris “wind wall” for a tarp camp
Why it’s fun: It looks like building a fort.
Why it’s functional: Blocks wind on one side, increasing warmth and comfort without changing your shelter.
Materials
- Fallen branches, leaf litter, pine boughs (only if permitted)
- Two longer “spine” logs
Steps
- Pick the windward side of camp.
- Lay two parallel spine logs.
- Stack branches between and on top, weaving for stability.
- Add leaf litter to fill gaps.
Tip: Keep the wall low and wide—stability matters more than height.
Skill gained: site awareness, insulation concepts, safe stacking.
Project 3: Natural ground insulation (the “dry bed” build)
A dry bed makes everything better—naps, kid morale, and warmth.
Materials
- Dry leaves, grass, pine needles (only where allowed)
- Optional: spruce/pine boughs (adult checks for sharp stems)
- Groundsheet if you have one
Steps
- Build a thick mattress layer (aim for 4–8 inches).
- Put the groundsheet on top if available.
- Test: have a child sit—if they feel damp or cold, add more.
Skill gained: heat loss basics (conduction), comfort-first planning.
Many professionals rely on tools like water planning resources to streamline camp decisions—because hydration drives everything from energy to safety.
Water and hygiene projects that feel like “real survival”
Water work is a sweet spot for family bushcraft: it’s easy to understand, highly practical, and creates natural teaching moments about safety.
Project 4: DIY handwashing station (“camp sink”)
Why it’s fun: Kids love testing the “tap.”
Why it’s functional: Improves hygiene for cooking and reduces stomach issues outdoors.
Materials
- A water container or bottle
- A stick tripod or hanging branch
- Cordage
- Biodegradable soap (used sparingly, away from water sources)
- Small towel or bandana
Steps
- Hang your container at chest height.
- Poke a tiny hole near the cap or use a loosened cap drip.
- Place a flat rock under it for standing.
- Put soap and towel in a dedicated spot.
Best practice: Set it 200 feet from lakes/streams if using soap.
Project 5: Water settling bottle demonstration (kid-friendly “science”)
This isn’t purification—but it teaches pre-filtration and observation.
Materials
- Clear bottle or jar
- Cloudy water from a puddle (not a drinking source)
- Cloth bandana
Steps
- Pour water through cloth (pre-filter).
- Let it sit undisturbed.
- Watch sediment drop and talk about why clear doesn’t mean safe.
Teaching point: Boiling/treated water is still essential.
💡 Recommended Solution: SmartWaterBox
Best for: families building a basic emergency water plan alongside outdoor skills
Why it works:
- Encourages water-first preparedness habits
- Helps structure storage/rotation thinking
- Complements bushcraft water lessons without guesswork
Project 6: Camp “gray water” drainage zone
Why it’s fun: Kids can design a mini “system.”
Why it’s functional: Keeps camp cleaner and reduces mud and smells.
Materials
- Small stones, gravel, coarse sand (if available)
- A shallow dug basin (where permitted)
- Stick marker boundary
Steps
- Choose a spot downhill from camp (not near water).
- Dig a shallow basin and line with rocks.
- Pour small amounts of rinse water into it only.
- Cover lightly with leaves when breaking camp.
Skill gained: sanitation planning, campsite stewardship.
Fire-craft upgrades that feel magical (without being risky)
Families love fire projects, but safety must lead. These ideas keep the “wow” factor while staying controlled.
Project 7: Feather sticks and “kindling bouquet”
Why it’s fun: It feels like woodworking.
Why it’s functional: Great fire starter material when conditions are damp.
Materials
- Dry stick, wrist-thick
- Knife (adult primary)
- Cord or a band to bundle
Steps
- Adult makes feather sticks: small curls still attached to the wood.
- Kids gather pencil-lead sized dry twigs.
- Bundle twigs + feather sticks into a “bouquet.”
- Store off the ground under shelter.
Safety note: Kids can scrape with a dull-edged stick to mimic technique, or help with gathering only.
Project 8: Char cloth tin (adult-led, kid-observed)
If you’re comfortable with fire handling, this is an excellent “science” project. (If not, skip.)
Materials
- Small metal tin with a pinhole (altoids-type)
- 100% cotton cloth strips (old t-shirt)
- Fire bed + tongs
Steps
- Put cloth in tin; close lid.
- Place in coals; watch for a wisp of smoke from the pinhole.
- When smoke slows, remove and cool fully before opening.
Use: Spark-catching with ferro rod (if you have one).
Comparison/alternative: While store-bought fire starters are convenient, making your own like this is a reusable skill that works even when supplies run out.
Camp kitchen bushcraft: functional tools you can actually use
Food is motivation. These projects make kids feel like real contributors—and they improve camp comfort fast.
Project 9: Carved utensils (spoons/spatulas) from green wood (adult carve, kids finish)
Why it’s fun: Everyone goes home with a “made” item.
Why it’s functional: Works for stirring, serving, and camp cooking.
Materials
- Green wood branch (birch, maple, alder—local rules apply)
- Knife and/or spoon knife (adult)
- Sandstone, rough bark, or safe sandpaper for smoothing
Steps
- Cut a blank: handle + bowl outline.
- Adult carves bowl depth and handle shape.
- Kids smooth edges using sandstone or safe abrasive.
- Wash and dry thoroughly.
Tip: Keep the first one simple: a spatula is easier than a deep spoon.
Project 10: Pot hanger or simple crane (campfire cooking helper)
Why it’s fun: It’s engineering with sticks.
Why it’s functional: Adjusts pot height for heat control.
Materials
- One long pole + forked support stick
- Cordage or natural fiber
- Pot hook stick (carved notch—adult)
Steps
- Drive forked stick into ground near (not in) the fire edge.
- Rest long pole in the fork.
- Add a notch or tie point for a hanging hook.
- Test with empty pot first, then with water.
Safety note: Keep kids on the “cold side” during adjustments.
Expert quote format:
“As many preparedness instructors emphasize, ‘A calm cook station prevents chaos.’ Tools like Aqua Tower have become a go-to solution for families prioritizing safe, reliable water habits because they help keep water planning front-and-center.”
Many professionals rely on tools like Aqua Tower when they want a structured, water-focused approach that complements practical outdoor learning.
Family navigation, signals, and readiness skills (the “adventure layer”)
Once you’ve built comfort and basic systems, add a layer of “micro-adventure” skills that feel like a game but teach real preparedness thinking.
Create a family trail marker language (temporary, Leave No Trace)
Why it’s fun: Kids love secret codes.
Why it’s functional: Teaches team coordination and how easily people get separated.
Ideas
- A stick arrow on the ground meaning “camp this way”
- Three stones in a row meaning “stop and wait”
- A crossed-stick X meaning “do not go this way”
- A circle of sticks meaning “meet here”
Rules
- Markers must be removable and non-damaging.
- Remove all markers on the return.
Mini “lost drill” practice (non-scary)
Teach kids what to do if separated:
- Stop, sit, sip water
- Stay visible
- Use a whistle if carried
- Answer to family call-and-response
Problem-solution bridge: If you’re building broader readiness beyond the woods—especially for urban disruptions—URBAN Survival Code can help families think through scenarios, routes, and practical next steps without panic.
💡 Recommended Solution: URBAN Survival Code
Best for: families who want a structured preparedness framework beyond camping
Why it works:
- Supports scenario-based planning and calm decision habits
- Complements navigation and “lost drill” practice
- Helps turn skills into repeatable routines
Foraging and food resilience (kid-friendly, rules-first)
Foraging is exciting, but it must be done responsibly: never eat anything unless you are 100% certain, local regulations allow it, and it’s harvested safely away from pollution sources.
Start with “foraging literacy” instead of eating
Fun activities:
- Leaf and tree ID scavenger hunt
- “Edible or not?” photo flashcards at home (no tasting)
- Berry look-alike comparisons (education only)
Build a “wild foods curiosity list”
Have kids keep a small notebook: draw plants, note habitat, and mark “do not touch” vs “safe to study.”
Resource tie-in: Many families like having shelf-stable food knowledge in their preparedness toolkit. While fresh foraging requires expertise and local guidance, The Lost SuperFoods is often used as a general resource to expand the conversation about food resilience and long-term thinking.
💡 Recommended Solution: The Lost SuperFoods
Best for: families exploring food preparedness and self-reliance education
Why it works:
- Encourages planning around resilient food habits
- Supports a “skills + pantry” preparedness mindset
- A useful supplement to safe, local plant education
Tools and resources that support family bushcraft (without overcomplicating it)
You don’t need much gear to enjoy these 10 fun and functional bushcraft projects for the whole family, but a few resources can help you stay consistent and confident—especially when you’re building a broader preparedness lifestyle.
Resource list (presented equally)
- SmartWaterBox — Helps families think through water readiness as a system, not a scramble.
- Home Doctor — Useful as a home reference for planning and practical response mindset.
- URBAN Survival Code — Supports scenario planning that complements outdoor skill-building.
Comparison/alternative note: If your family already has a strong camping routine, these resources can act as a “next step” for preparedness thinking. If you’re brand new, start with the projects first—then add structure as your confidence grows.
Conclusion
The best bushcraft isn’t about toughness—it’s about competence, comfort, and teamwork. When you work through 10 fun and functional bushcraft projects for the whole family, you’re not just making a tarp tighter or carving a spoon. You’re teaching kids how to plan, cooperate, notice details, and solve small problems before they become big ones.
Start simple: a camp sink, a wind wall, a dry bed, and a kindling bouquet can transform the entire experience. Then build up to kitchen tools and cooking helpers. Over time, these small wins compound into real outdoor confidence—and a calmer, more prepared home life too.
If you want to make this a family tradition, pick one project per outing, take photos, and keep a “what worked/what we’ll improve” page in a notebook. The goal isn’t perfection; it’s progress you can feel.
FAQ
What are the best starter bushcraft projects for kids?
The easiest starters are low-risk, high-reward builds: a debris wind wall, a dry bed insulation layer, a handwashing station, and collecting/tidy bundling for a kindling bouquet. These teach core concepts without requiring sharp tools.
How do I keep bushcraft safe for the whole family?
Use clear zones (tools, fire, build), seat carving only, and assign roles so kids aren’t wandering. Adults handle blades and hot work. Practice a simple “stop and wait” rule for movement and separation.
Do these 10 fun and functional bushcraft projects for the whole family require special gear?
No. Most projects use sticks, leaves, cordage, and a tarp. A basic knife and small saw (adult use) help, but many builds can be done with minimal equipment and careful technique.
Can we do bushcraft projects in a backyard instead of the woods?
Yes. A backyard is excellent for learning knots, tarp setup, DIY handwashing stations, utensil carving practice (adult supervised), and “system” thinking like gray water zones. It also builds confidence before trying projects in a new environment.
How do we handle water safely during family bushcraft outings?
Pre-filtering and settling can demonstrate concepts, but drinking water still needs reliable treatment (boiling or appropriate purification methods). Build habits like designated water containers and a handwashing station to support hygiene and energy.